Be Beautiful

How Lighting Changes the Way Paint Colors Look

Interior & Exterior Painting Tips, Tricks and Local NEPA Stories

Exterior paint on a Pennsylvania home has a demanding job. It has to withstand intense summer sun, humidity, rain, snow, ice, freezing temperatures, and repeated freeze-thaw cycles—all while protecting the material underneath.

So when paint begins to peel, crack, or blister, the problem is not always as simple as “the paint is old.”

Sometimes the coating has reached the end of its useful life. In other cases, moisture is getting where it shouldn’t, the surface was not properly prepared, the wrong product was used, or the underlying material is moving or deteriorating.

For homeowners in Wilkes-Barre, Scranton, Dallas, Clarks Summit, Shavertown, Mountain Top, White Haven, and throughout NEPA, understanding why exterior paint fails is the first step toward fixing the problem correctly.

A new coat can make a failing exterior look better temporarily. But if the reason for the failure remains, the new paint may eventually fail in the same place.

Why Pennsylvania Weather Is Hard on Exterior Paint

Pennsylvania homes experience substantial seasonal changes.

An exterior surface may go from hot and humid summer conditions to freezing winter temperatures within a matter of months. During that time, the surface is exposed to moisture, ultraviolet radiation, wind, snow, and temperature fluctuations.

Those conditions affect both the paint and the material underneath it.

Wood expands and contracts. Caulk can shrink or crack. Moisture can enter small openings and freeze. Sunlight can gradually break down the coating’s binder.

Over years, those small stresses add up.

This is one reason exterior painting in NEPA requires more than simply applying a fresh color. The condition of the surface and the reason the existing coating failed are just as important as the new paint itself.

Moisture Gets Behind the Paint

Moisture is one of the most common causes of exterior paint failure.

Water can enter through:

  • Cracked or failed caulk
  • Gaps around windows and doors
  • Damaged siding
  • Roof or flashing problems
  • Leaking gutters
  • Poor drainage
  • Exposed or deteriorated wood
  • Open joints between exterior materials

Once moisture gets behind the coating, it can interfere with adhesion.

As the surface repeatedly gets wet and dries, the paint may begin to bubble, peel, crack, or separate from the substrate.

In colder weather, the problem can become even more pronounced. Water that enters a small opening can freeze and expand, putting additional stress on the surrounding materials and coating.

Why Painting Over Moisture Doesn’t Work

If a wall is peeling because water is entering behind the paint, another coat doesn’t solve the source of the problem.

It may look better for a while, but the same moisture can eventually cause the new coating to fail.

That is why identifying the moisture source should come before simply covering the affected area.

Poor Surface Preparation

Paint needs a sound surface to adhere properly.

If dirt, dust, chalking, mildew, loose paint, or other contaminants remain on the surface, they can interfere with adhesion.

The same applies to surfaces that were not properly scraped, sanded, cleaned, or primed when necessary.

This can create a frustrating situation: the new paint looks beautiful when the project is finished, but sections begin peeling much sooner than expected.

The problem may not have been the paint itself.

It may have been what was underneath it.

Proper exterior painting preparation can include:

  • Removing loose or failing paint
  • Cleaning the surface
  • Addressing mildew or organic growth
  • Sanding appropriate areas
  • Repairing damaged substrate
  • Priming surfaces where required
  • Replacing failed caulk
  • Allowing surfaces to dry adequately

Preparation is not the glamorous part of painting, but it is one of the most important.

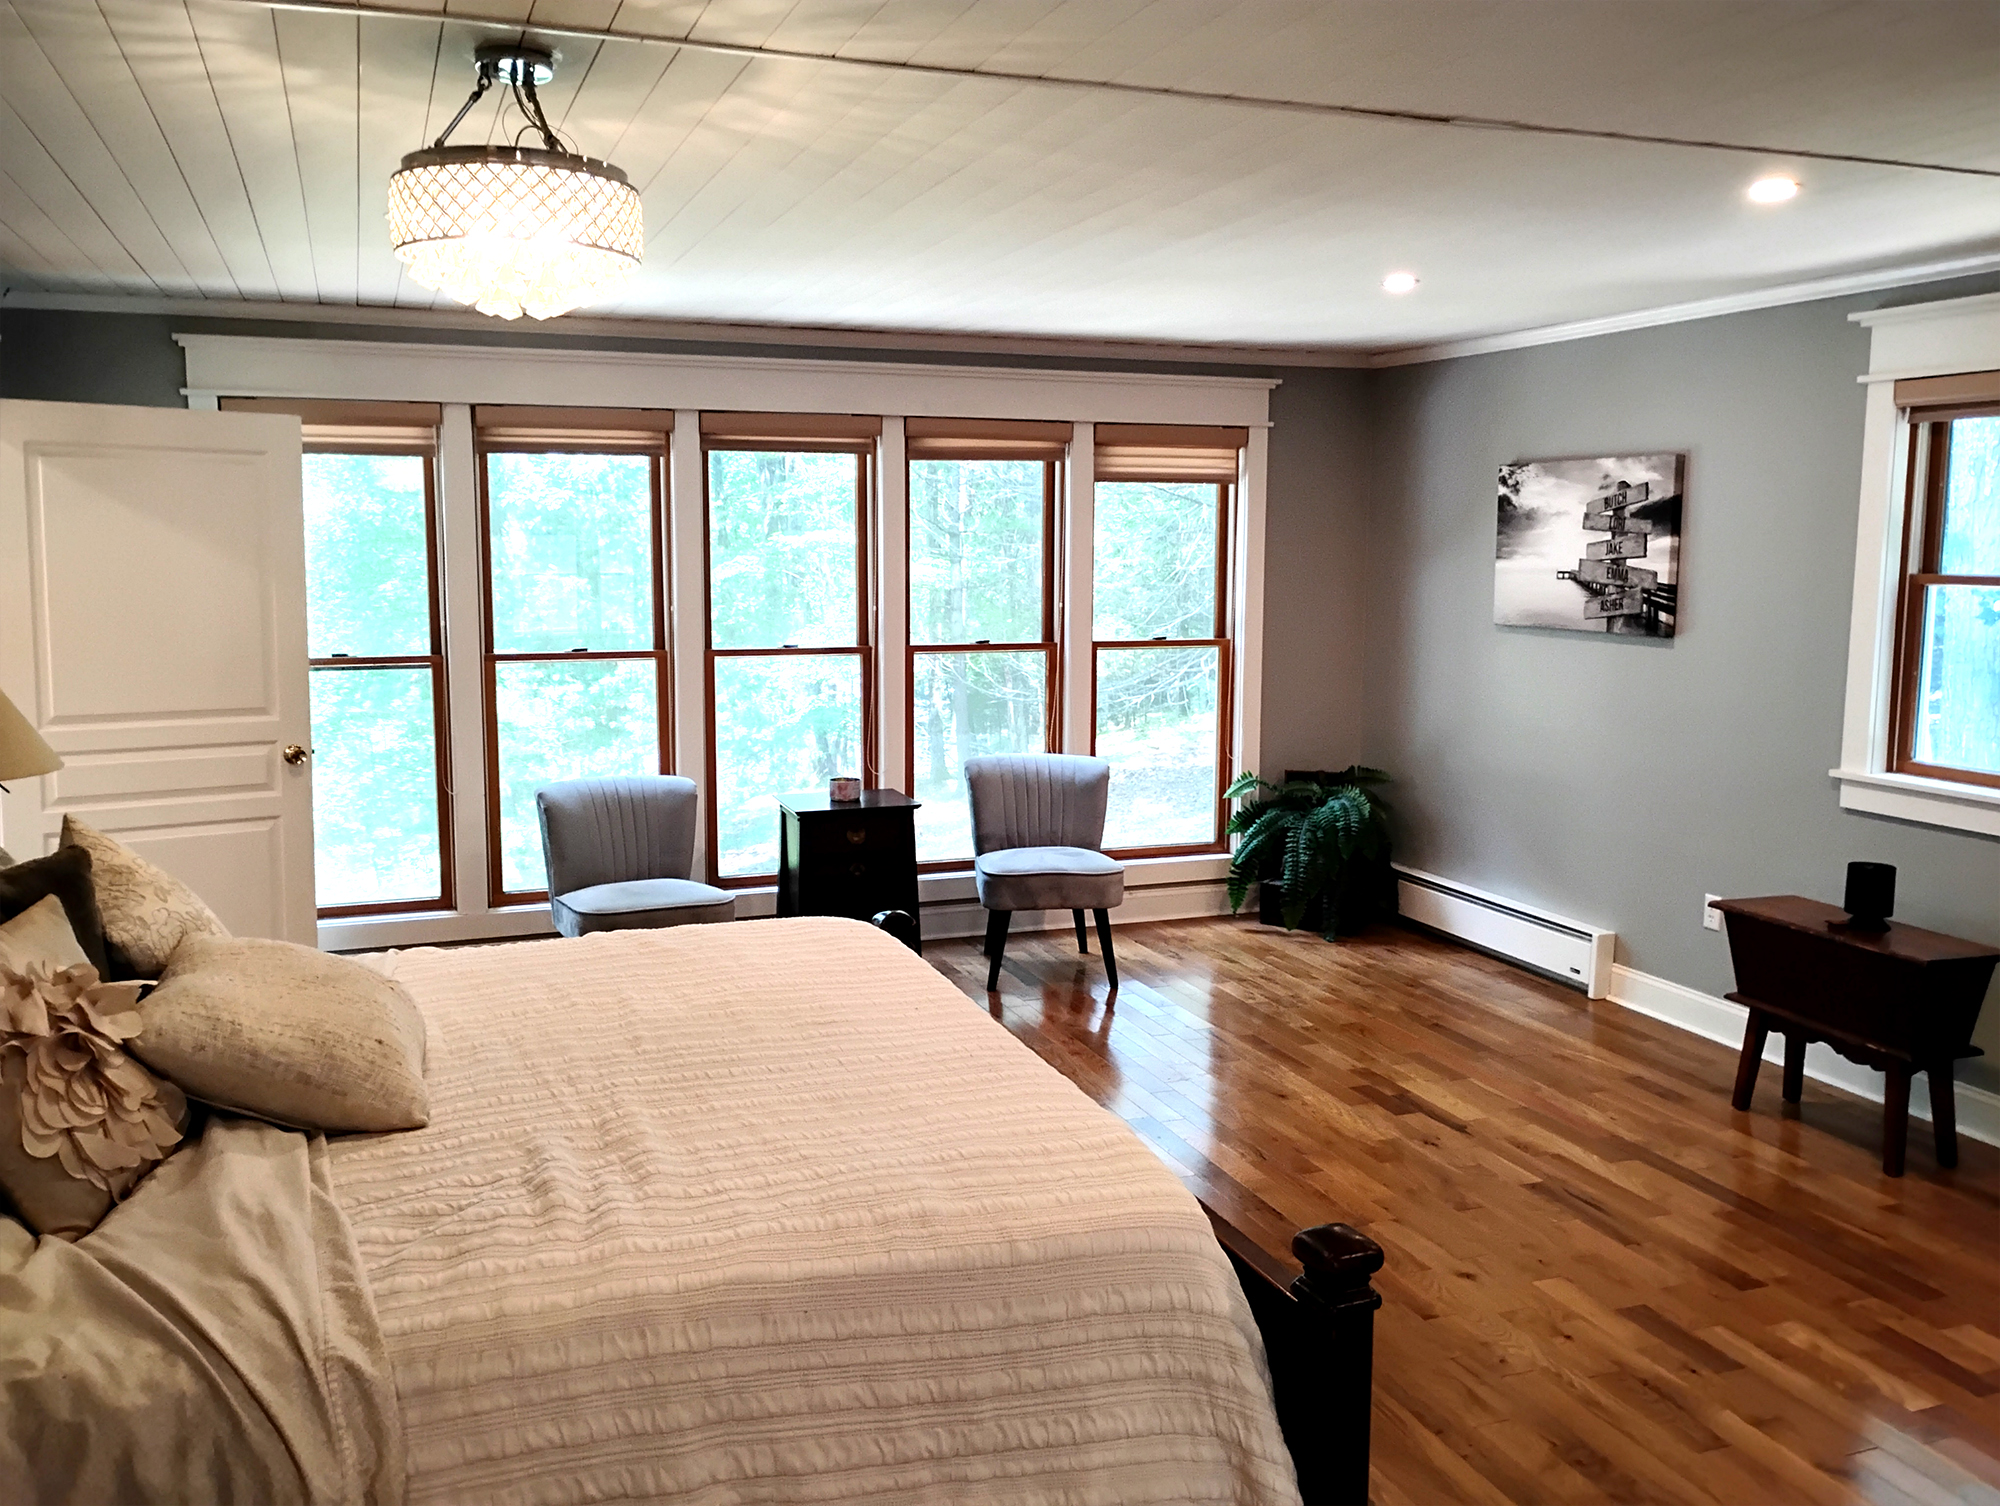
interior house painting bedroom painting with ceiling light and windows

Painting Over Chalky Surfaces

A chalky exterior can leave a fine, powdery residue on your hand when you rub the surface.

Chalking occurs as the coating’s binder breaks down and pigment becomes exposed.

Some chalking is a normal part of exterior paint aging. Heavy chalking, however, can interfere with the adhesion of a new coating.

If a painter simply applies new paint over a heavily chalked surface without appropriate preparation, the new coating may bond to the unstable layer rather than to a sound substrate.

The result can be premature peeling or flaking.

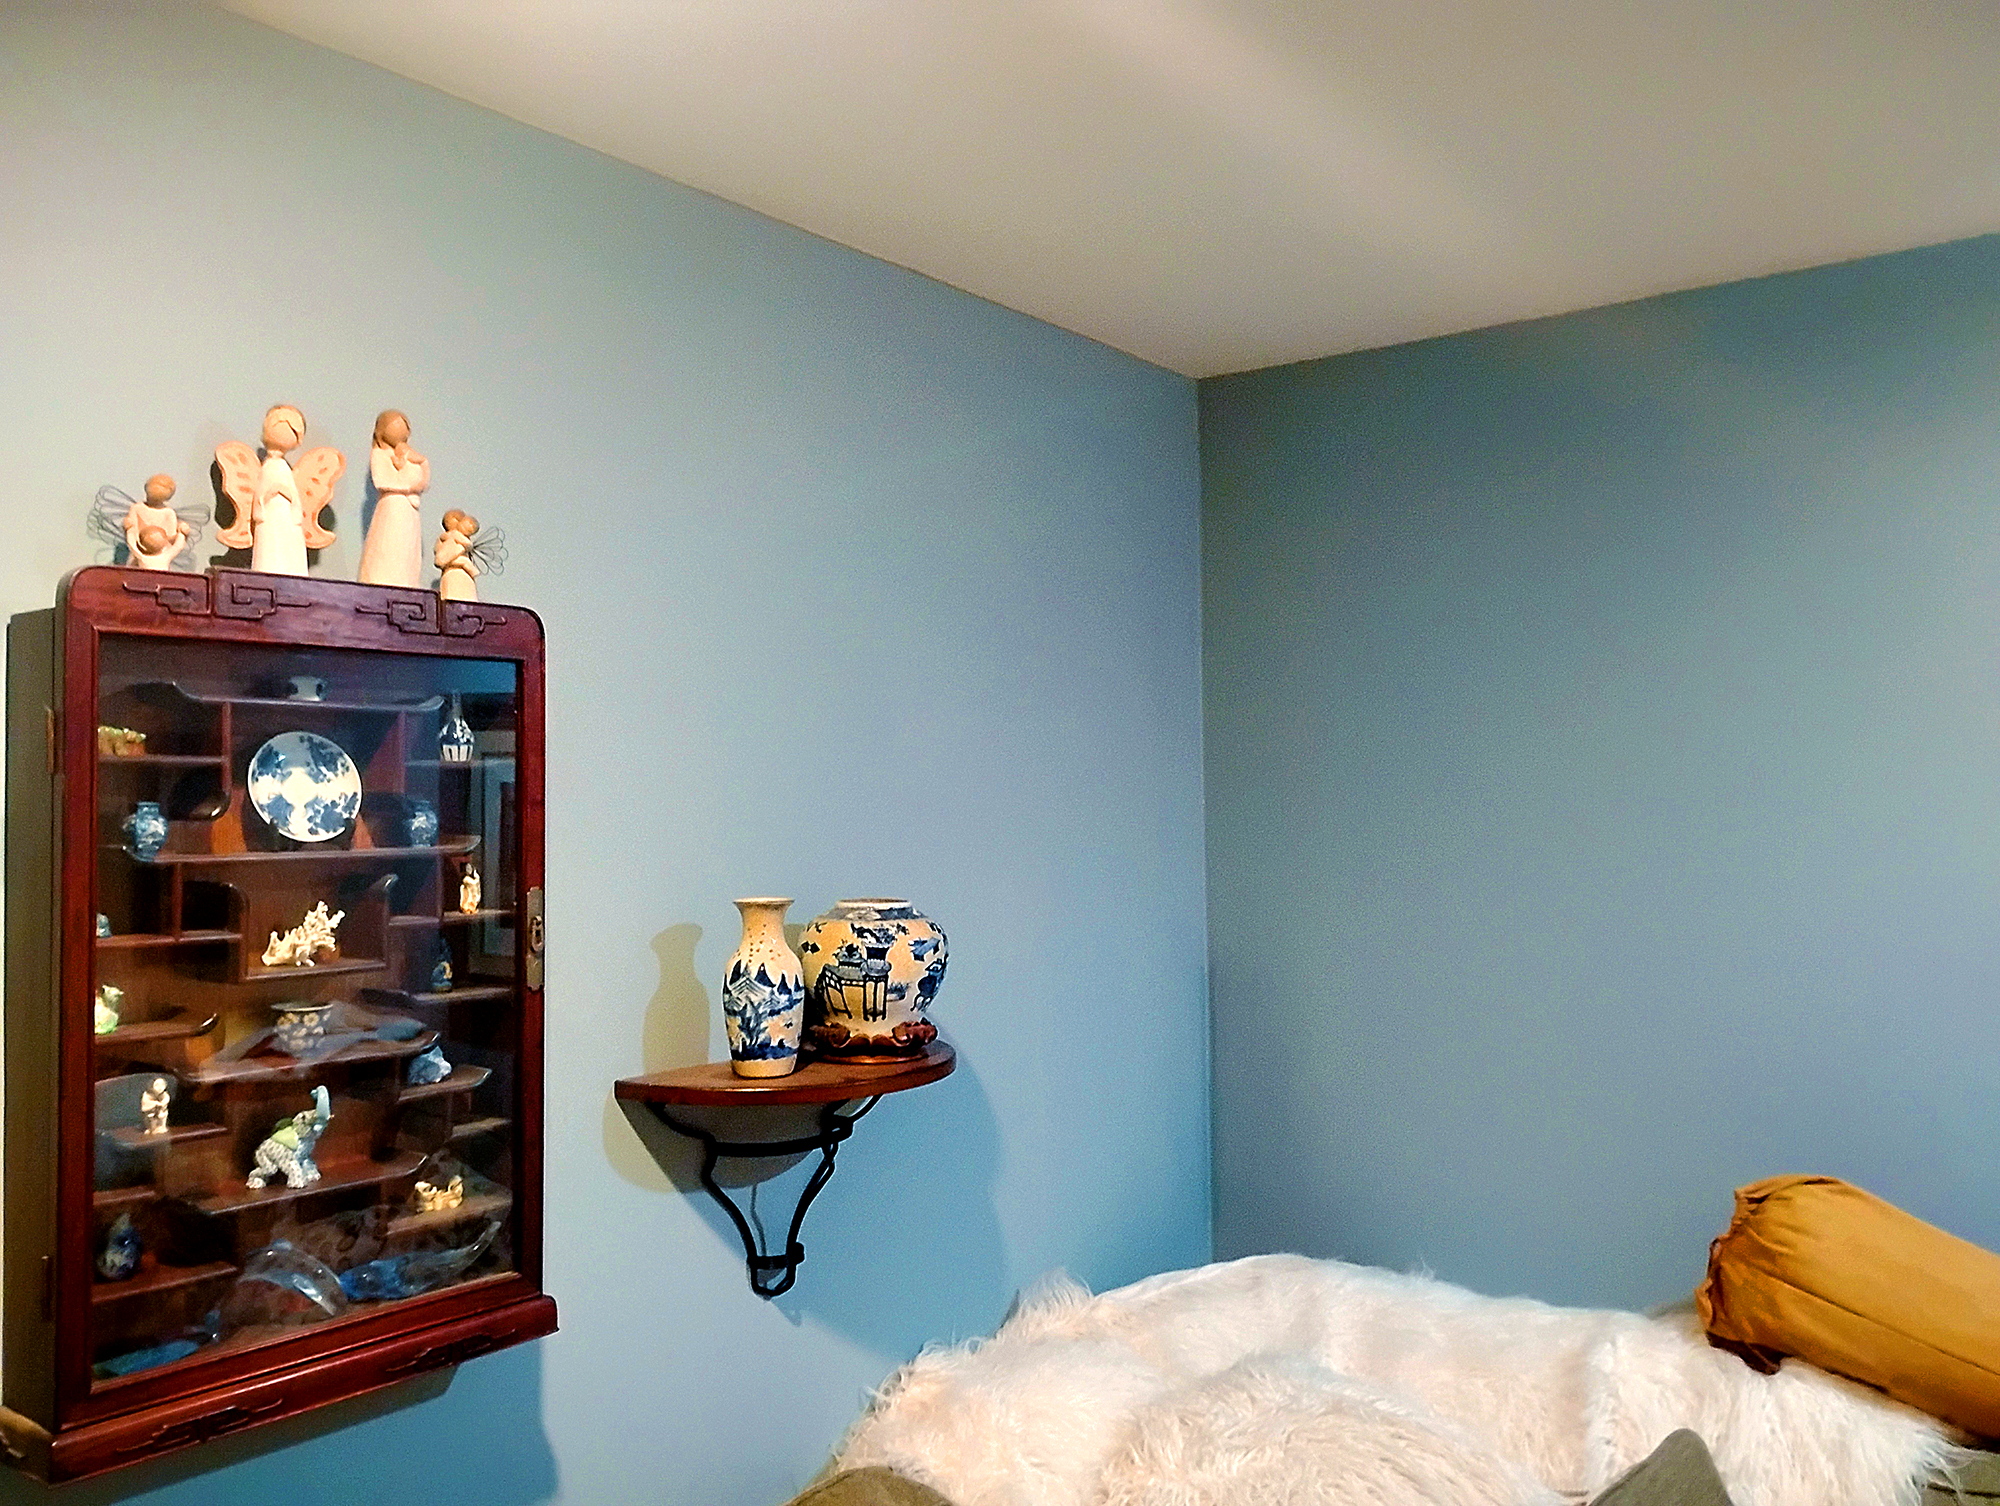
Interior Paint Residential Kingston PA blue on white ceiling web

The Surface Was Still Damp

Exterior paint needs appropriate conditions to adhere and cure correctly.

Painting a surface that is damp from rain, dew, washing, or high humidity can create adhesion problems.

This can be particularly relevant in Northeastern Pennsylvania during spring and fall, when mornings may be cool and damp even if the afternoon becomes comfortable.

Homes surrounded by trees can also have shaded sections that remain damp longer than areas exposed to direct sunlight.

A surface may look dry from a few feet away while still holding enough moisture to affect the coating.

That is why professional exterior painting involves paying attention to actual surface conditions, not just the temperature shown on a weather app.

Too Many Layers of Paint

Older Pennsylvania homes can have several generations of paint.

One coating may have been applied over another, which was applied over another.

Eventually, the accumulated layers can become less stable.

If an older layer is poorly adhered, every new layer placed above it can inherit that weakness.

This does not mean every older home needs to have every existing layer removed before repainting. The appropriate preparation depends on the condition of the existing coating and the substrate.

But widespread peeling should prompt a closer look at what is actually happening beneath the most recent layer.

Why the Same Spot Keeps Failing

If you have repainted a section several times and the paint keeps peeling in exactly the same place, that’s a valuable clue.

The coating may not be the primary problem.

Repeated failure can indicate:

  • Persistent moisture
  • A leaking gutter
  • Failed flashing
  • A damaged substrate
  • Movement at a joint
  • Poorly prepared previous coatings
  • An ongoing drainage problem

When paint fails repeatedly in one location, the better question is not “What paint should I use next?”

It’s “What keeps causing the paint to fail here?”

That change in perspective can prevent years of temporary repairs.

Exterior Paint Failure Can Start Small

Paint problems often begin with details that are easy to dismiss.

A homeowner may notice one peeling section of trim or a few hairline cracks and assume there is no urgency.

Sometimes that’s true.

But small failures can become larger when moisture gains access to the underlying material.

Early attention can be especially valuable on painted wood. Once exposed wood begins absorbing repeated moisture, the repair may eventually involve replacing damaged material rather than simply repainting it.

This is one reason routine exterior maintenance can be more economical than waiting until the coating has visibly deteriorated across the entire house.

A Lasting Finish Starts With the Surface Beneath It

When exterior paint peels, cracks, or blisters, the visible damage is only part of the story.

The coating may be telling you that moisture is getting behind it, the surface wasn’t properly prepared, the material underneath has deteriorated, or years of Pennsylvania weather have finally taken their toll.

For homeowners throughout Wilkes-Barre, Dallas, Clarks Summit, Shavertown, Mountain Top, White Haven, and the Poconos, understanding the cause is far more useful than simply covering the symptom.

A beautiful exterior finish depends on a sound surface, appropriate preparation, the right coating, and conditions that allow the paint to perform properly.

That approach takes a little more thought up front—but it is what helps an exterior paint job look refined and continue protecting the home long after the brushes are cleaned.

13 + 9 =

Expert Tips from Your Local

House Painting Professionals

Choosing the perfect paint color isn’t just about picking your favorite shade—it’s about understanding how that color interacts with the light in your home. In White Haven and across the Poconos, lighting can shift dramatically throughout the day due to wooded surroundings, mountain elevation, and strong seasonal changes. Because of this, the same paint can look completely different depending on the time of day, the weather, and the orientation of the room.

Understanding how light affects color helps you make confident decisions and ensures your home looks exactly the way you imagined.

.

Pros and Cons of Natural Light vs. Artificial Light

Artificial Light

Pros:
Provides steady, predictable lighting at all times of day—especially helpful in Poconos homes surrounded by dense trees where natural light is limited. Bulb temperatures (warm, cool, daylight) allow you to customize how your paint colors appear.

Cons:
Artificial lighting can shift the look of your paint by making colors warmer, cooler, or slightly muted. Different bulb types—LED, incandescent, or fluorescent—may also distort undertones in unexpected ways.

Natural Light 

Pros:
Reveals the truest, most vibrant version of your paint colors. In White Haven and other mountain areas, natural light tends to be crisp and bright, especially in rooms that open toward wooded trails or higher elevations.

Cons:
Changes constantly throughout the day—morning sun, afternoon shadows, and seasonal variations all affect how colors read. Natural light can be limited in cabins, chalets, or homes with smaller or tree-covered windows.

 Consider the Direction Your Room Face

The orientation of a room greatly affects how paint colors appear—especially in White Haven and the Poconos, where wooded surroundings and shifting mountain light create unique lighting conditions throughout the day.

North-facing rooms

Tend to have cooler, softer light, which can make warm colors look muted. This is common in Poconos homes shaded by evergreens or set against forested hillsides. Colors like blues and grays may appear crisper, while beiges and taupes can take on subtle cool undertones. 

South-facing rooms

Receive the strongest, warmest light during the day. In high-sun areas like White Haven’s open clearings or elevated homes, this can make colors appear brighter and warmer. Deep tones soften beautifully, while yellows, creams, and warm whites glow throughout the afternoon.

East- or west-facing rooms

East-facing rooms get cool, bright morning light that enhances soft neutrals and fresh, airy colors. West-facing rooms pick up strong afternoon and evening light, giving warm tones a rich, golden glow—especially noticeable in mountain sunsets.


Understanding your room’s natural light helps you anticipate how a color will change at different times.
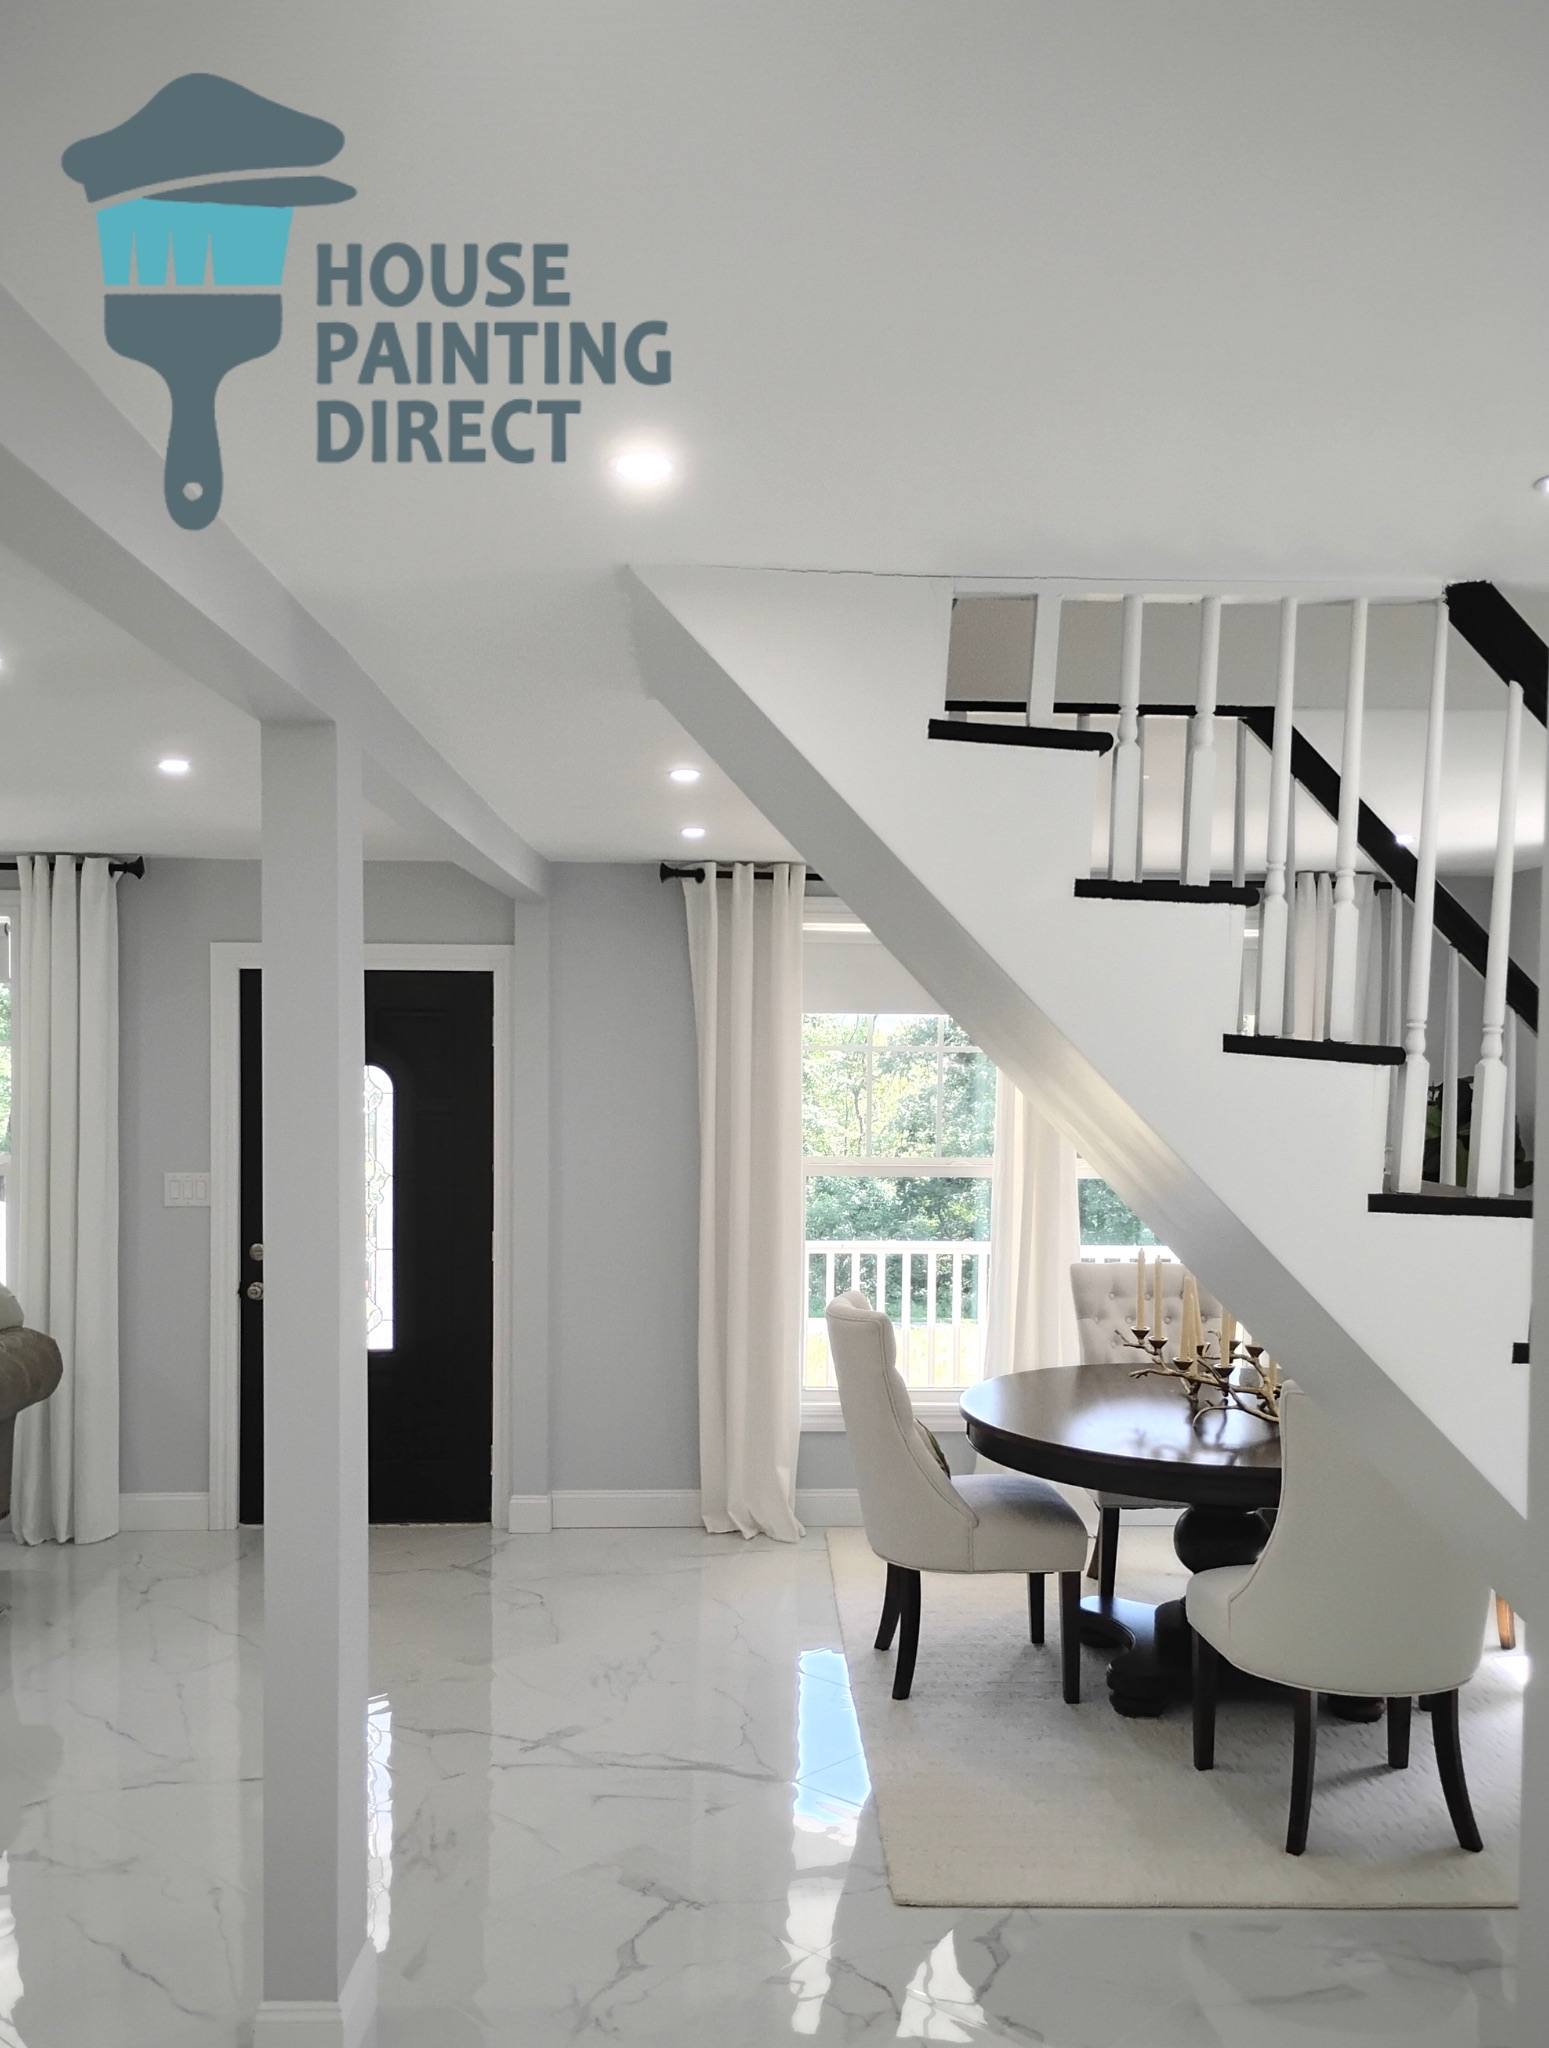
interior painting stairs railing ceiling trim windows white

14 + 11 =

Lighting Types Explained and How Different Lighting Types Affect Color

🔥 Incandescent Bulbs

Warm, yellowish light that enhances warm colors and gives rooms a cozy, inviting feel. In Poconos cabins and White Haven homes, incandescent lighting pairs beautifully with earthy palettes—taupes, creams, warm grays, and wood tones. It softens shadows and creates a comfortable glow, especially during long winter evenings.

❄️ Fluorescent Bulbs

Fluorescent lighting has a cooler, slightly bluish tint that can make some colors appear sharper or more muted. This type of lighting is common in basements, workshops, and bonus rooms throughout mountain homes and vacation properties in the Poconos. It often enhances blues, greens, and cooler neutrals, but can make warm tones look dull.

💡 LED Bulbs

LEDs offer the most flexibility, with options ranging from warm white to bright daylight. In White Haven and Pocono homes surrounded by heavy tree cover, LEDs are especially useful because they help brighten rooms that don’t receive much natural light. Daylight LEDs reveal the truest version of paint colors, while warm LEDs are great for bedrooms and living spaces where you want a comfortable, inviting glow.


Test Samples Before Committing

Paint generous swatches on your walls and observe them at different times of the day. In White Haven and across the Poconos, morning light can feel crisp and cool, while afternoon sunlight warms dramatically as it filters through the trees. Evening light often softens colors, especially in homes tucked against wooded hills.

Watch how your color changes under each condition—natural light, artificial light, and seasonal shifts. This simple step prevents surprises and ensures your chosen color complements your home beautifully throughout the year.

 Trust the Professionals for the Perfect Finish

Even with the perfect color, expert application makes all the difference. A professional painting team ensures consistent coverage, crisp edges, and a flawless finish that highlights your color exactly as intended—under every type of light.

At House Painting Direct, our craftsmanship is matched only by our deep understanding of how color and lighting interact. With more than 20 years of experience studying color theory and light behavior, we help homeowners choose hues that look stunning in every environment—from sun-filled Poconos living rooms to softly lit mountain bedrooms.

We bring precision, professionalism, and unmatched expertise to every home we paint.
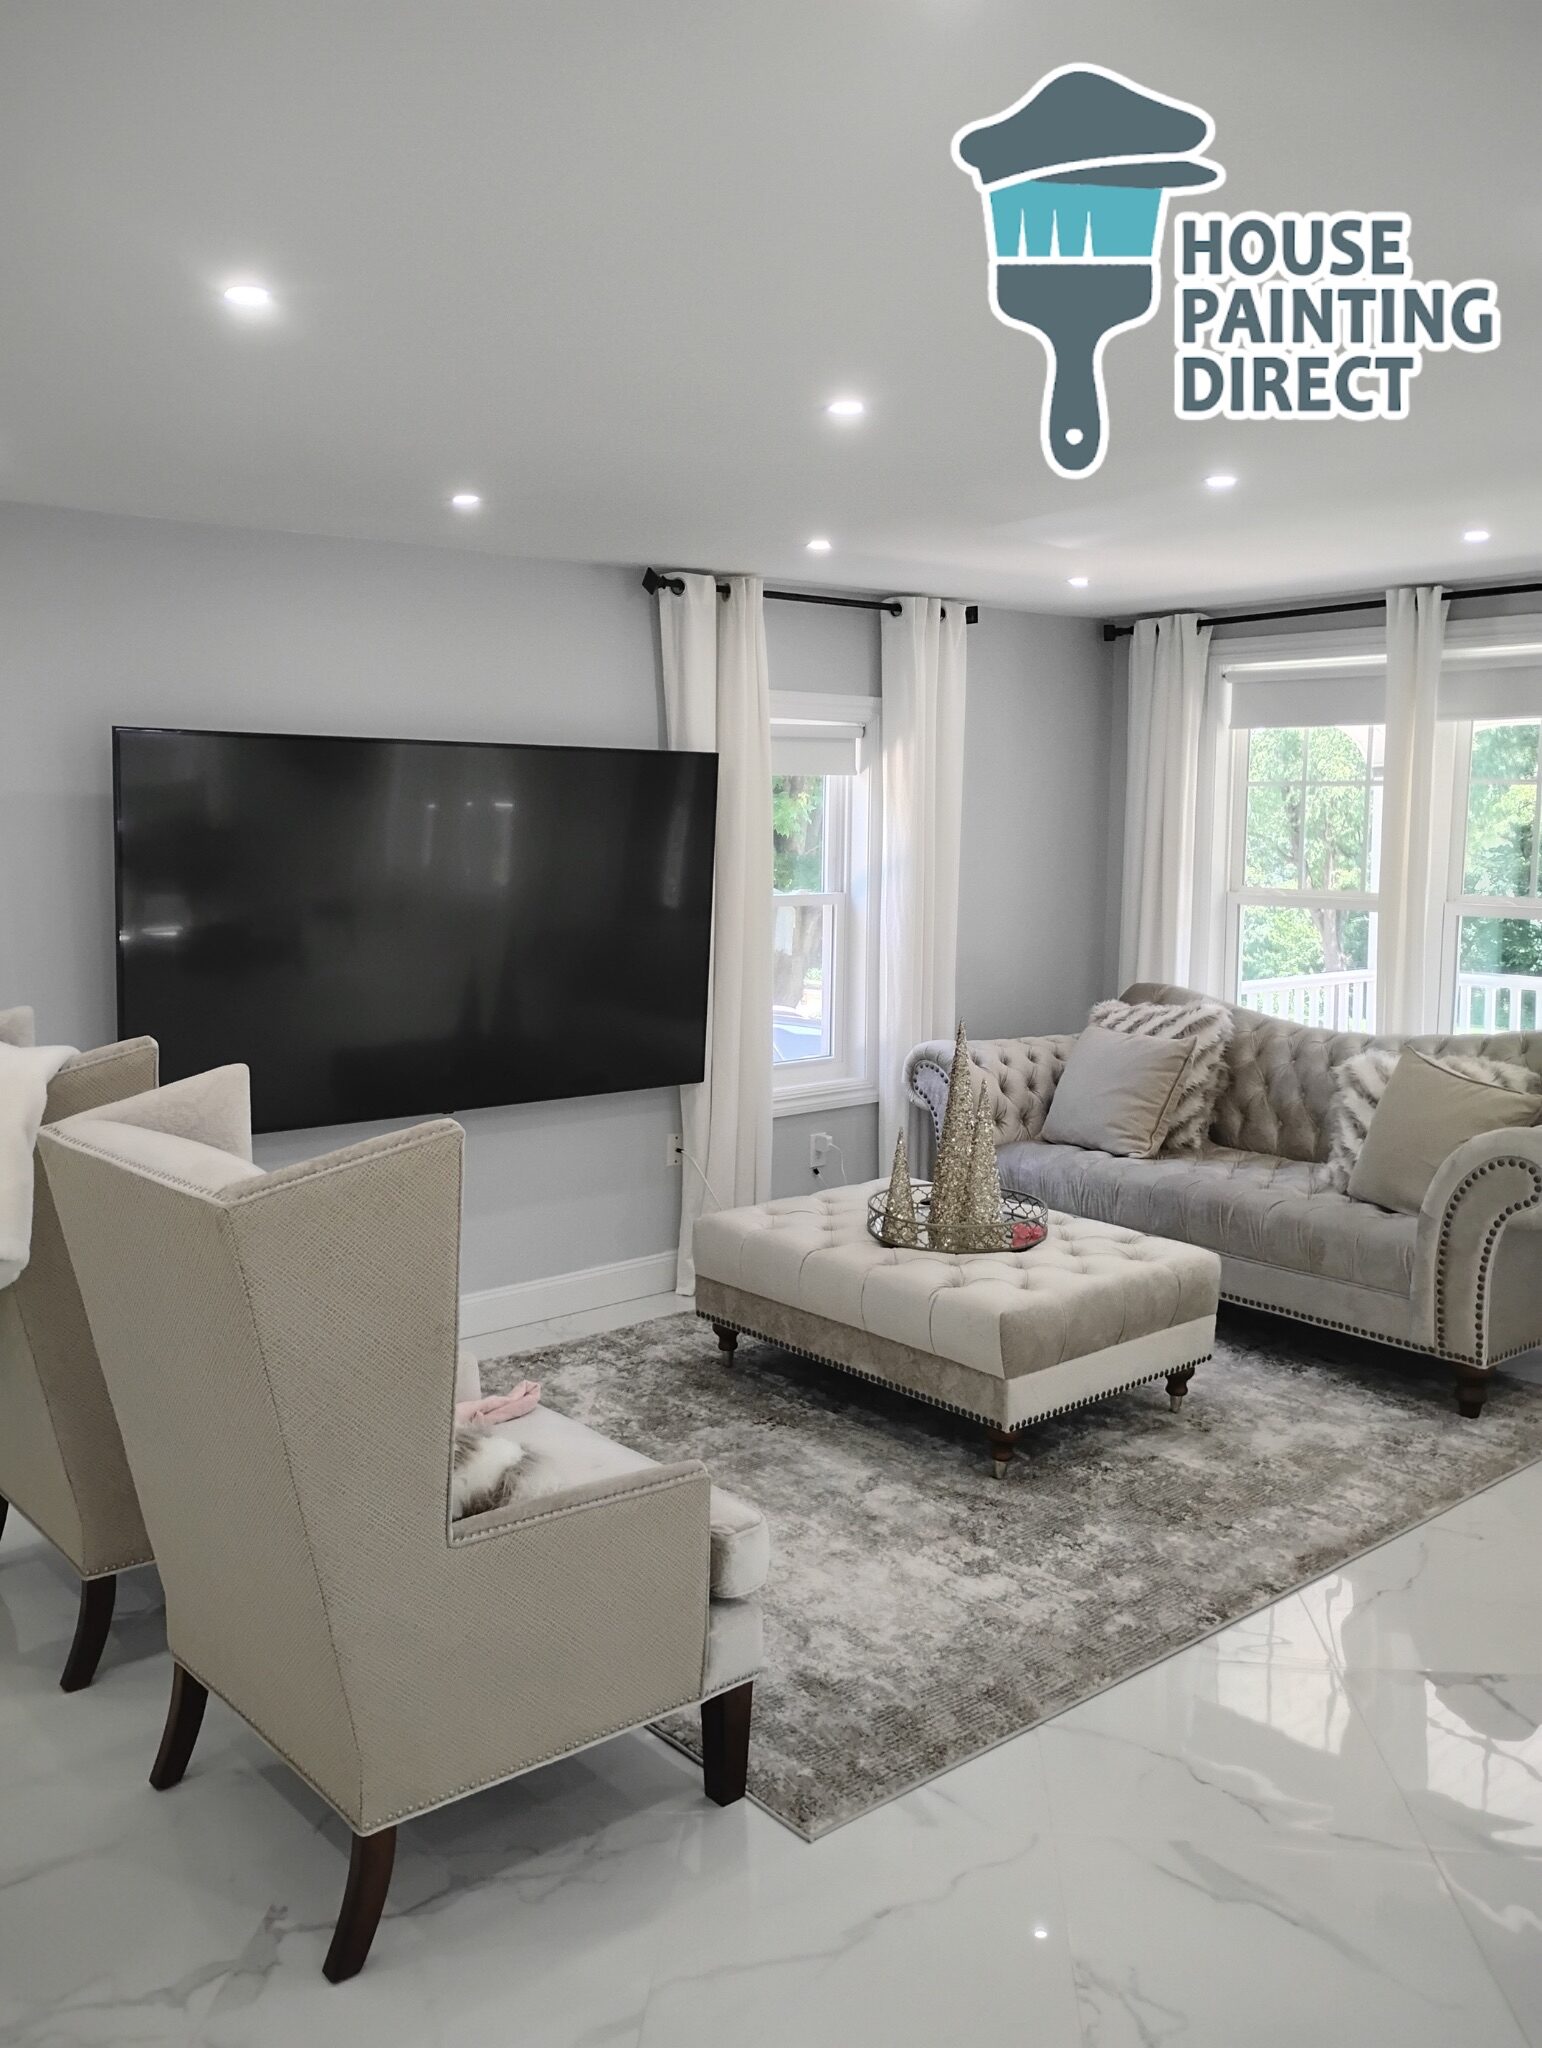
cedar shake exterior house painting blue and white trim wilkes-barre pa

Ready to See Your Colors Shine?

Let us help you choose the perfect paint colors for your mountain home and apply them with precision. Our expert understanding of Poconos lighting—from bright mornings to shaded afternoons—ensures every room looks beautiful in every season.

Your home, your light, your perfect colors — brought to life by House Painting Direct.