
Be Beautiful

Step-by-Step: Our House Painting Process Explained

Interior & Exterior Painting Tips, Tricks and Local NEPA Stories

Your Landscaping Meets Your Paint

A beautifully painted home can completely change the way a property looks. But even a high-quality exterior paint job is still exposed to everything around it—including the landscaping growing alongside the house.

Trees, shrubs, vines, mulch, irrigation systems, and dense vegetation can all affect painted exterior surfaces. Some effects are purely cosmetic, such as dirt and green staining. Others can contribute to moisture retention, paint deterioration, wood rot, or premature peeling.

For homeowners in Wilkes-Barre, Scranton, Luzerne and Lackawanna counties, landscaping deserves particular attention because NEPA’s seasonal weather creates plenty of moisture, temperature changes, snow, and humidity. A shaded wall surrounded by vegetation can dry very differently from an exposed wall receiving direct sunlight and airflow.

So, how can landscaping affect exterior paint?

The short answer is that landscaping can change how much moisture, dirt, shade, abrasion, and biological growth your exterior surfaces experience. Managing those conditions can help painted surfaces stay cleaner and perform better over time.

Moisture Is the Biggest Concern

Paint and moisture have a complicated relationship.

Exterior paint is designed to protect the underlying surface from weather, but constantly damp conditions can create problems—particularly when moisture becomes trapped against wood or other porous materials.

Landscaping can contribute to that moisture in several ways.

Dense shrubs may sit directly against siding. Tree branches can block airflow. Irrigation may repeatedly spray the same section of the house. Mulch can remain damp against lower trim or siding.

None of these automatically means your paint will fail.

But when several conditions occur together, the exterior may stay wet longer than intended.

Trees Provide Shade—and Change How Paint Weathers

Shade can be wonderful for a home.

It can reduce heat gain and make outdoor spaces more comfortable, particularly during Pennsylvania summers. But shaded exterior walls also tend to dry more slowly after rain, especially when trees are combined with dense shrubs or limited airflow.

This creates an interesting balance.

A wall exposed to strong sunlight may experience more UV exposure and temperature-related movement. A heavily shaded wall may experience more moisture retention and biological growth.

Neither environment is automatically worse.

The important thing is understanding that different sides of the same house can experience very different conditions.

Tree Branches Can Physically Damage Painted Surfaces

Branches do not have to fall on the house to cause problems.

Smaller branches can repeatedly brush against siding and trim when wind moves them. Over time, that friction can wear the paint surface and leave scratches or exposed areas.

This is particularly noticeable on homes surrounded by mature trees, including properties in the wooded communities around the Poconos, Harveys Lake, Mountain Top, and White Haven.

During storms, larger branches also create a more obvious risk.

Keeping trees properly maintained can reduce unnecessary contact between branches and the home’s exterior.

Vines Can Be Especially Hard on Painted Surfaces

Climbing plants can create a dramatic look on older homes and masonry buildings, but they can also complicate exterior maintenance.

Vines may:

  • Trap moisture against the surface
  • Make inspections difficult
  • Hide cracks or damaged areas
  • Interfere with painting
  • Leave organic residue behind
  • Attach themselves to certain surfaces

Removing established vines can also expose underlying damage that was previously hidden.

If a wall needs painting, the vegetation should be evaluated and managed before surface preparation begins rather than simply painted around.

Landscaping Can Affect Wood More Than Paint

Sometimes homeowners notice peeling paint and assume the paint itself is the problem.

But the underlying issue may be moisture affecting the wood.

This can happen around:

  • Window trim
  • Door trim
  • Porch components
  • Fascia
  • Wood siding
  • Exterior corners
  • Lower wall sections

When vegetation stays wet against these areas, the wood may have difficulty drying. If moisture enters through damaged paint, open joints, failed caulk, or other vulnerable areas, deterioration can develop underneath the coating.

Paint cannot repair rotten wood.

If wood has become soft, crumbly, or structurally compromised, the damaged material should be evaluated and appropriately repaired before repainting.

Irrigation Can Prematurely Wear Exterior Paint

Automatic irrigation systems make landscaping much easier to maintain, but sprinkler placement matters.

If sprinklers repeatedly spray siding, doors, trim, or painted masonry, the exterior receives moisture that it was not necessarily designed to experience continuously.

Hard water can also leave mineral deposits after repeated evaporation, creating visible spotting or staining.

Ideally, irrigation should water the landscape rather than the house.

If you notice a recurring wet spot on your siding shortly after the irrigation system runs, adjusting the sprinkler direction may be a simple but worthwhile maintenance improvement.

NEPA’s Seasons Make Exterior Maintenance Important

A home in Wilkes-Barre or Dallas experiences a broad range of seasonal conditions.

Spring brings rain and renewed plant growth. Summer introduces humidity, heat, and thunderstorms. Autumn brings falling leaves and organic debris. Winter adds snow, ice, freezing temperatures, and repeated freeze-thaw cycles.

Landscaping interacts with all of these conditions.

A shrub that is harmlessly positioned during a dry summer may create a moisture issue when autumn leaves accumulate against the siding. A tree branch that looks distant from the house can become a problem once winter weather and strong winds arrive.

Exterior paint maintenance is therefore not just about paint.

It is also about the environment surrounding the painted surface.

A Healthier Landscape Can Help Protect the Finish

Good landscaping and a well-maintained exterior do not have to compete with each other.

Trees can provide valuable shade. Shrubs can add privacy. Gardens can soften architectural lines. Native and established plants can make a property feel deeply connected to its surroundings—something that is especially fitting for homes in the wooded parts of Northeastern Pennsylvania.

The goal is simply to keep the landscape from creating unnecessary moisture, abrasion, or access problems.

A little space and airflow can make a meaningful difference.

The Paint Job and the Property Should Work Together

Exterior paint does not exist in isolation.

The condition of the siding, trim, caulk, drainage, landscaping, and surrounding environment all influence how a painted surface performs. When those pieces work together, maintenance becomes easier and the finish has a better chance of aging gracefully.

For homeowners in Wilkes-Barre, Scranton, Shavertown, Clarks Summit, Dallas, and throughout the Poconos, that means looking beyond the paint color when caring for an exterior.

Trim the branches. Give the walls room to breathe. Keep irrigation off the siding. Watch for moisture. Address damaged wood before painting.

Those small decisions can help protect a much larger investment—and keep a beautifully painted home looking like it belongs in the landscape around it.

6 + 14 =

Craftsmanship Starts Before the Paint

Most homeowners see the finished result—a freshly painted exterior, crisp trim lines, or a room that suddenly feels brighter and more refined.

What often goes unseen is the work that happens before the first coat of paint is applied.

A quality paint job is rarely defined by the paint itself. It’s defined by preparation, attention to detail, and understanding how different surfaces respond to the unique conditions found throughout Northeastern Pennsylvania. Whether it’s a historic home in downtown Wilkes-Barre, a lakefront property near Harveys Lake, or a wooded retreat tucked into the hills outside White Haven, every successful painting project follows a thoughtful process.

While every home is different, here’s a closer look at how a professional house painting project typically unfolds.
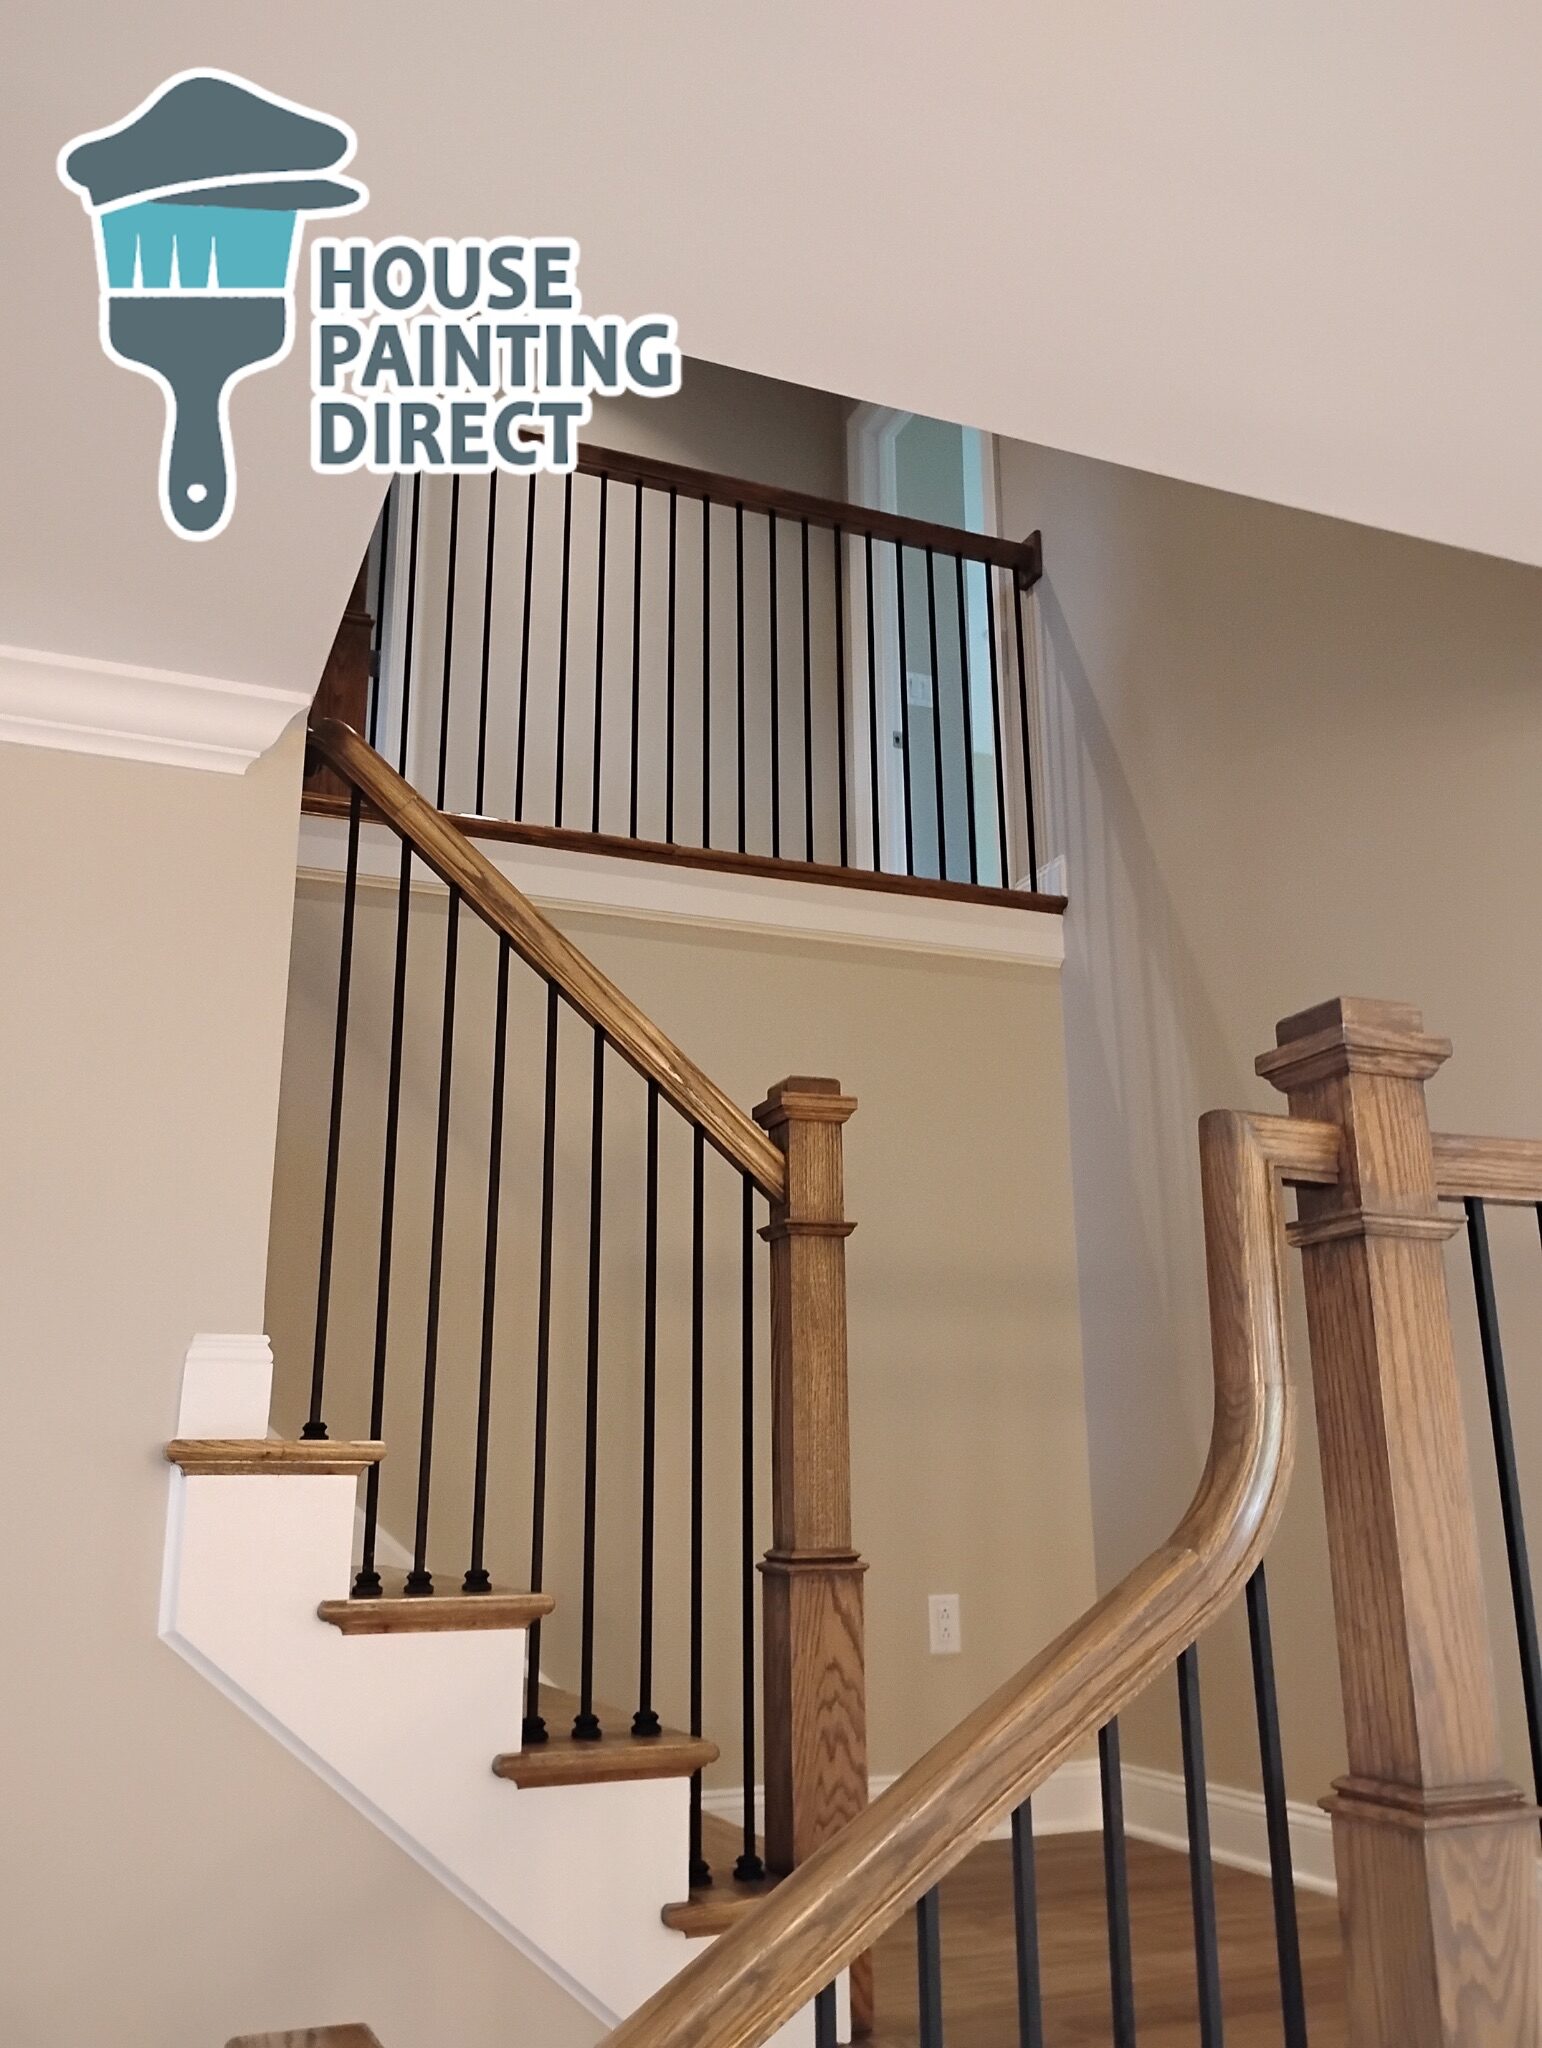
It Starts With Understanding the Home

Before discussing colors, products, or schedules, the first step is evaluating the surfaces themselves.

A house tells a story long before any work begins.

Paint condition, moisture exposure, sun exposure, previous repairs, and even surrounding landscaping can influence how a project should be approached.

For example, a home in an open neighborhood may weather differently than a house surrounded by mature trees in the Poconos or Mountain Top. Constant shade, moisture retention, and seasonal debris can create challenges that aren’t immediately visible from the driveway.

This early evaluation helps identify potential issues before they become surprises later in the project.
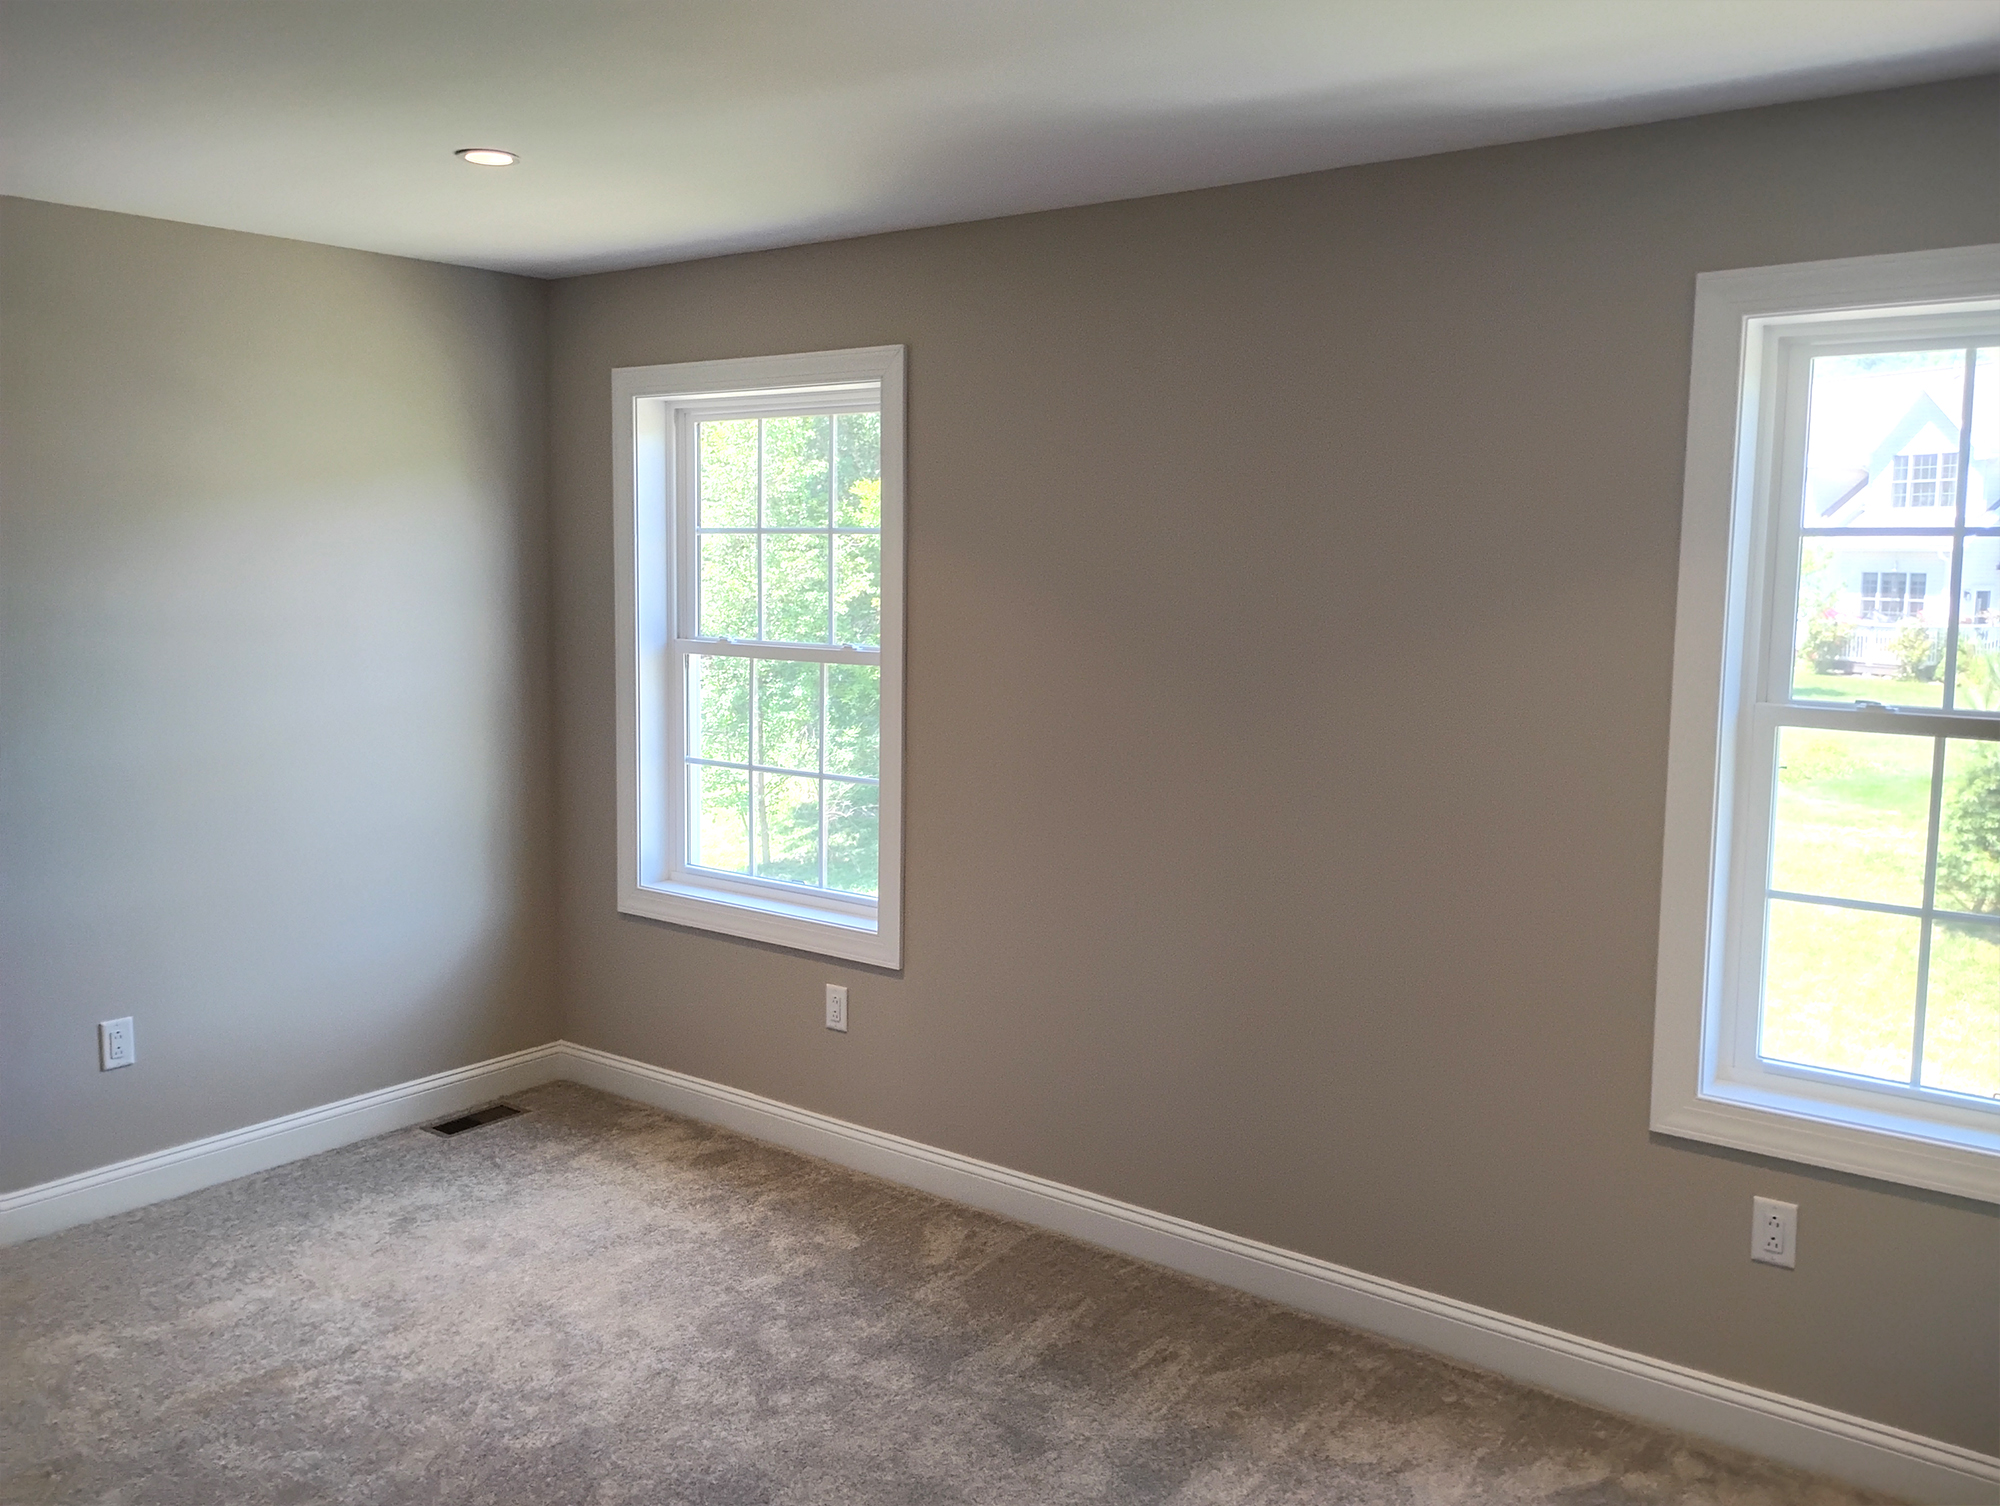
interior painting in scranton pa walls and window trim

 Surface Preparation

If there is one stage that determines the long-term success of a paint job, it’s preparation.

Fresh paint adheres best to stable, properly prepared surfaces.

Preparation may include:

  • Washing dirt, mildew, and contaminants from surfaces
  • Scraping loose or failing paint
  • Sanding rough transitions
  • Removing peeling caulk
  • Filling minor imperfections
  • Protecting landscaping, walkways, and adjacent surfaces

Many homeowners are surprised by how much time is spent here, but preparation is often where durability is won or lost.
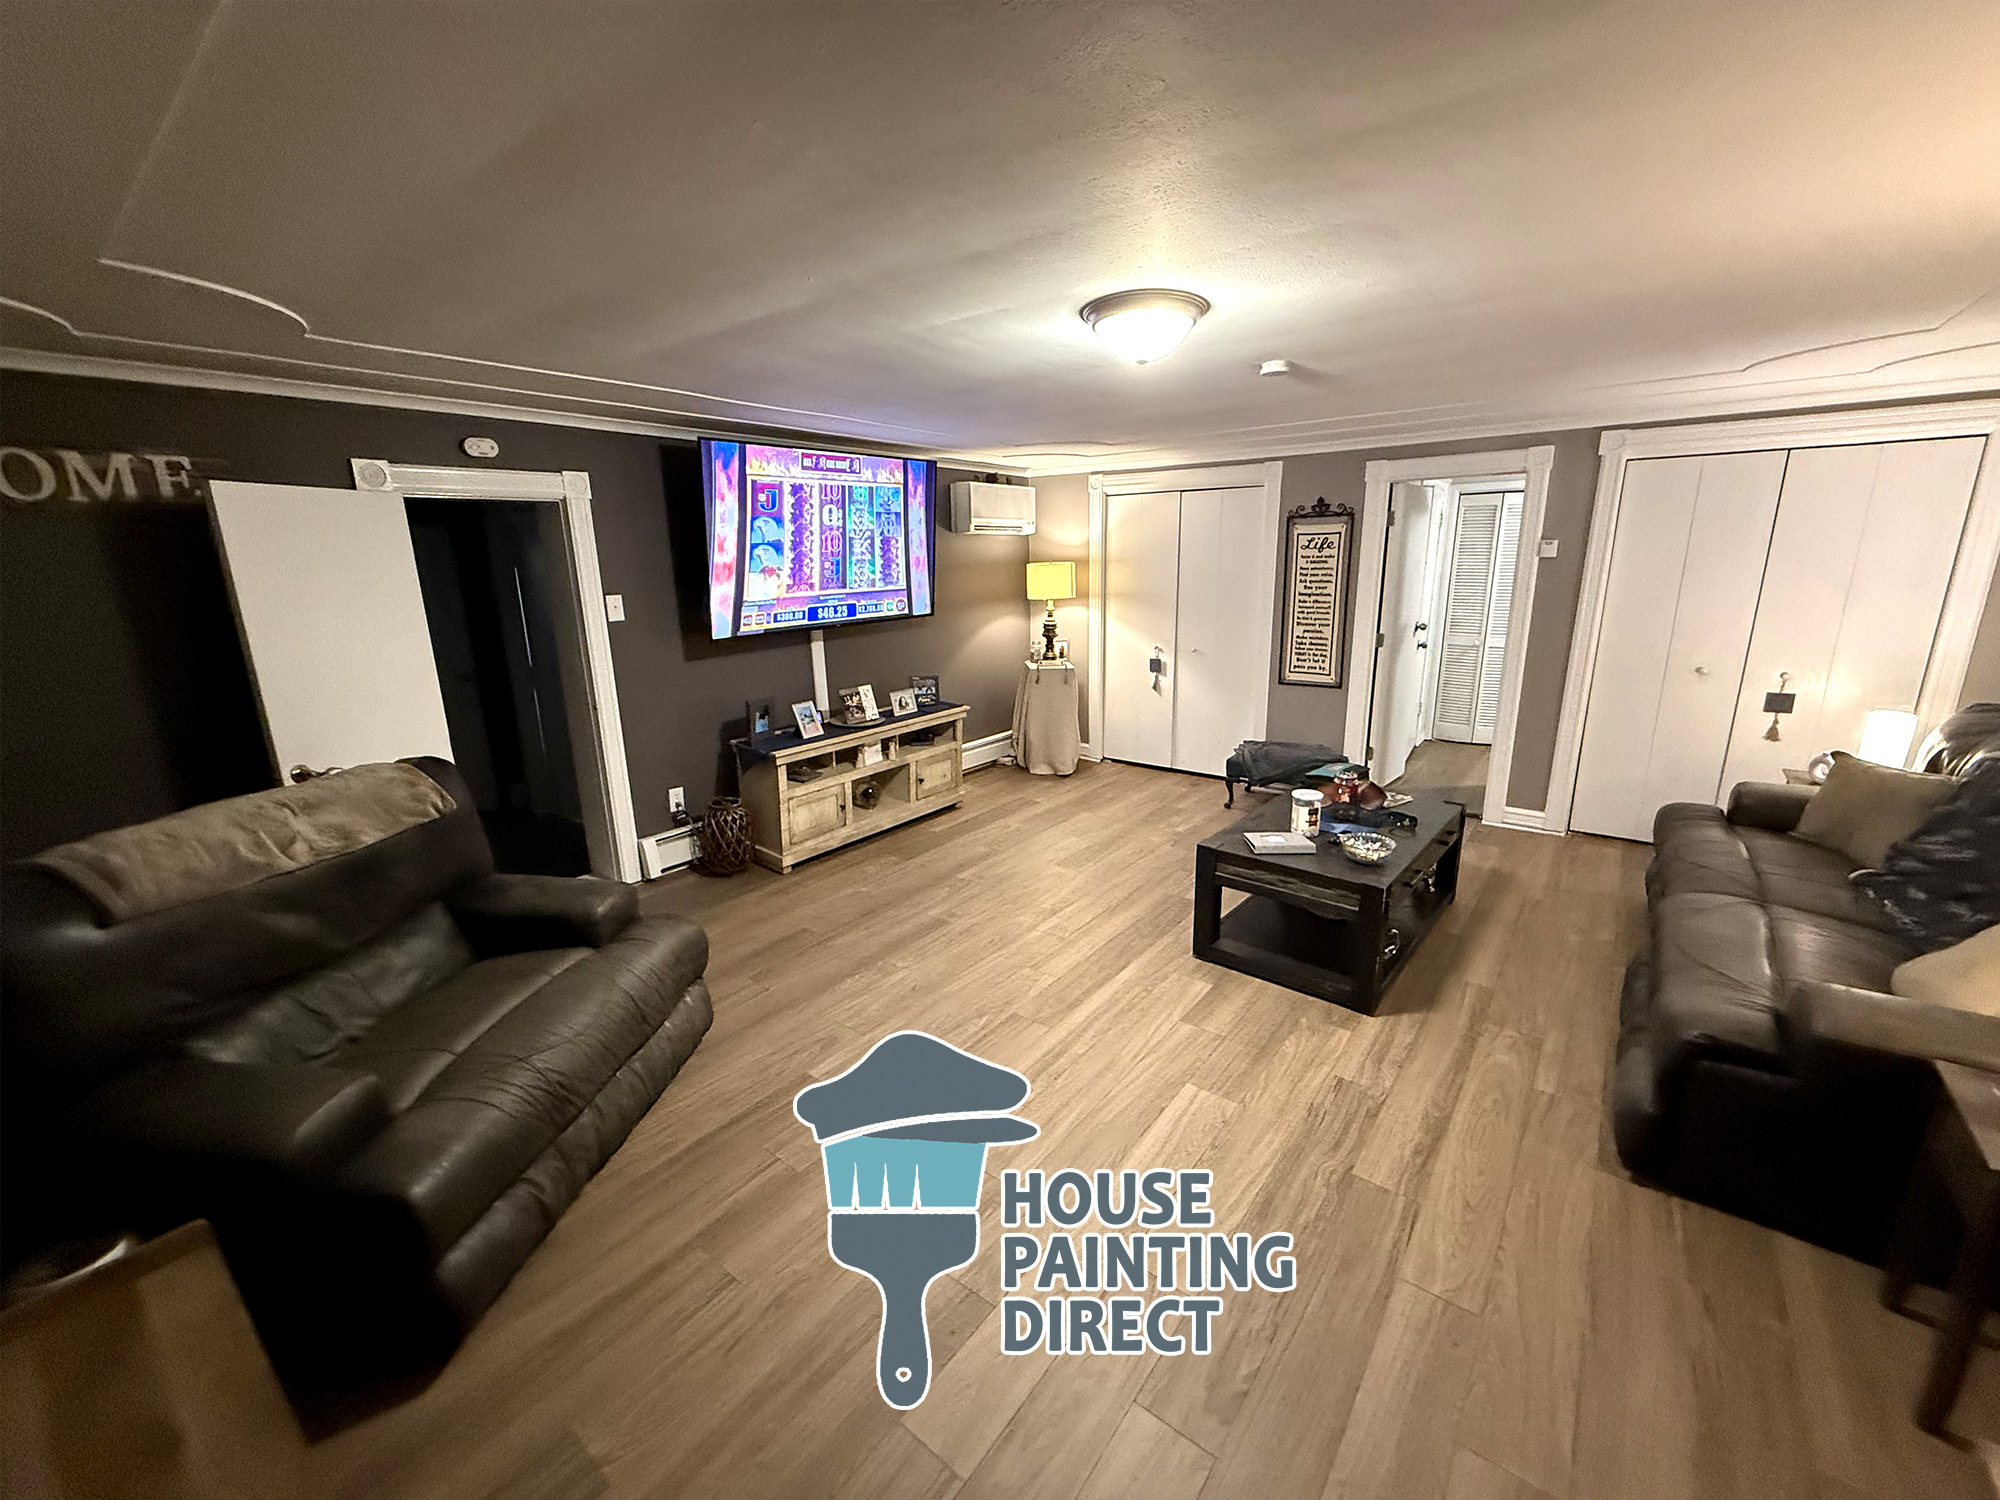
basement theater interior painting wilkes-barre grey ceiling and walls drywall

Why Cleaning Matters More Than Most People Realize

Paint adheres mechanically to a surface. Dust, chalking, pollen, mildew, and environmental contaminants create a barrier between the coating and the substrate beneath.

In areas throughout Luzerne and Lackawanna Counties, where homes experience everything from humid summers to long winters, proper cleaning helps ensure coatings bond as intended and perform for years to come.

 Repairs and Surface Corrections

Painting often reveals opportunities for improvement.

Once surfaces are cleaned and inspected more closely, small issues become easier to identify.

Common examples include:

Surface Issue

Why It Matters

Cracked caulk

Allows moisture intrusion

Soft trim boards

Can affect paint longevity

Nail pops

Create uneven finishes

Minor wood deterioration

May continue worsening beneath paint

Surface cracks

Can telegraph through new coatings

Addressing these details before painting creates a smoother and more durable finish.

In older NEPA homes, especially those that have experienced decades of freeze-thaw cycles, these corrections are often a valuable part of the process.

Priming Where Necessary

Not every surface requires primer.

Some do.

Primer serves a specific purpose: creating an ideal foundation for finish coats while improving adhesion and helping achieve a more uniform appearance.

Bare wood, repaired surfaces, significant color changes, water stains, and previously damaged areas often benefit from proper priming before finish paint is applied.

If previous coatings remain stable and well-adhered, certain surfaces may allow finish coats to be applied without extensive priming.

The right approach depends on the condition of the surface rather than a one-size-fits-all rule.

 Applying the Finish Coats

This is the stage most people picture when they think about painting.

By this point, however, much of the critical work has already been completed.

The focus shifts toward:

  • Consistent coverage
  • Uniform color
  • Sharp transitions
  • Proper film thickness
  • Even sheen and appearance

Depending on the project, multiple coats may be required to achieve the desired finish and durability.

The goal isn’t simply changing the color of a surface. It’s creating a finish that looks refined and performs well under real-world conditions.
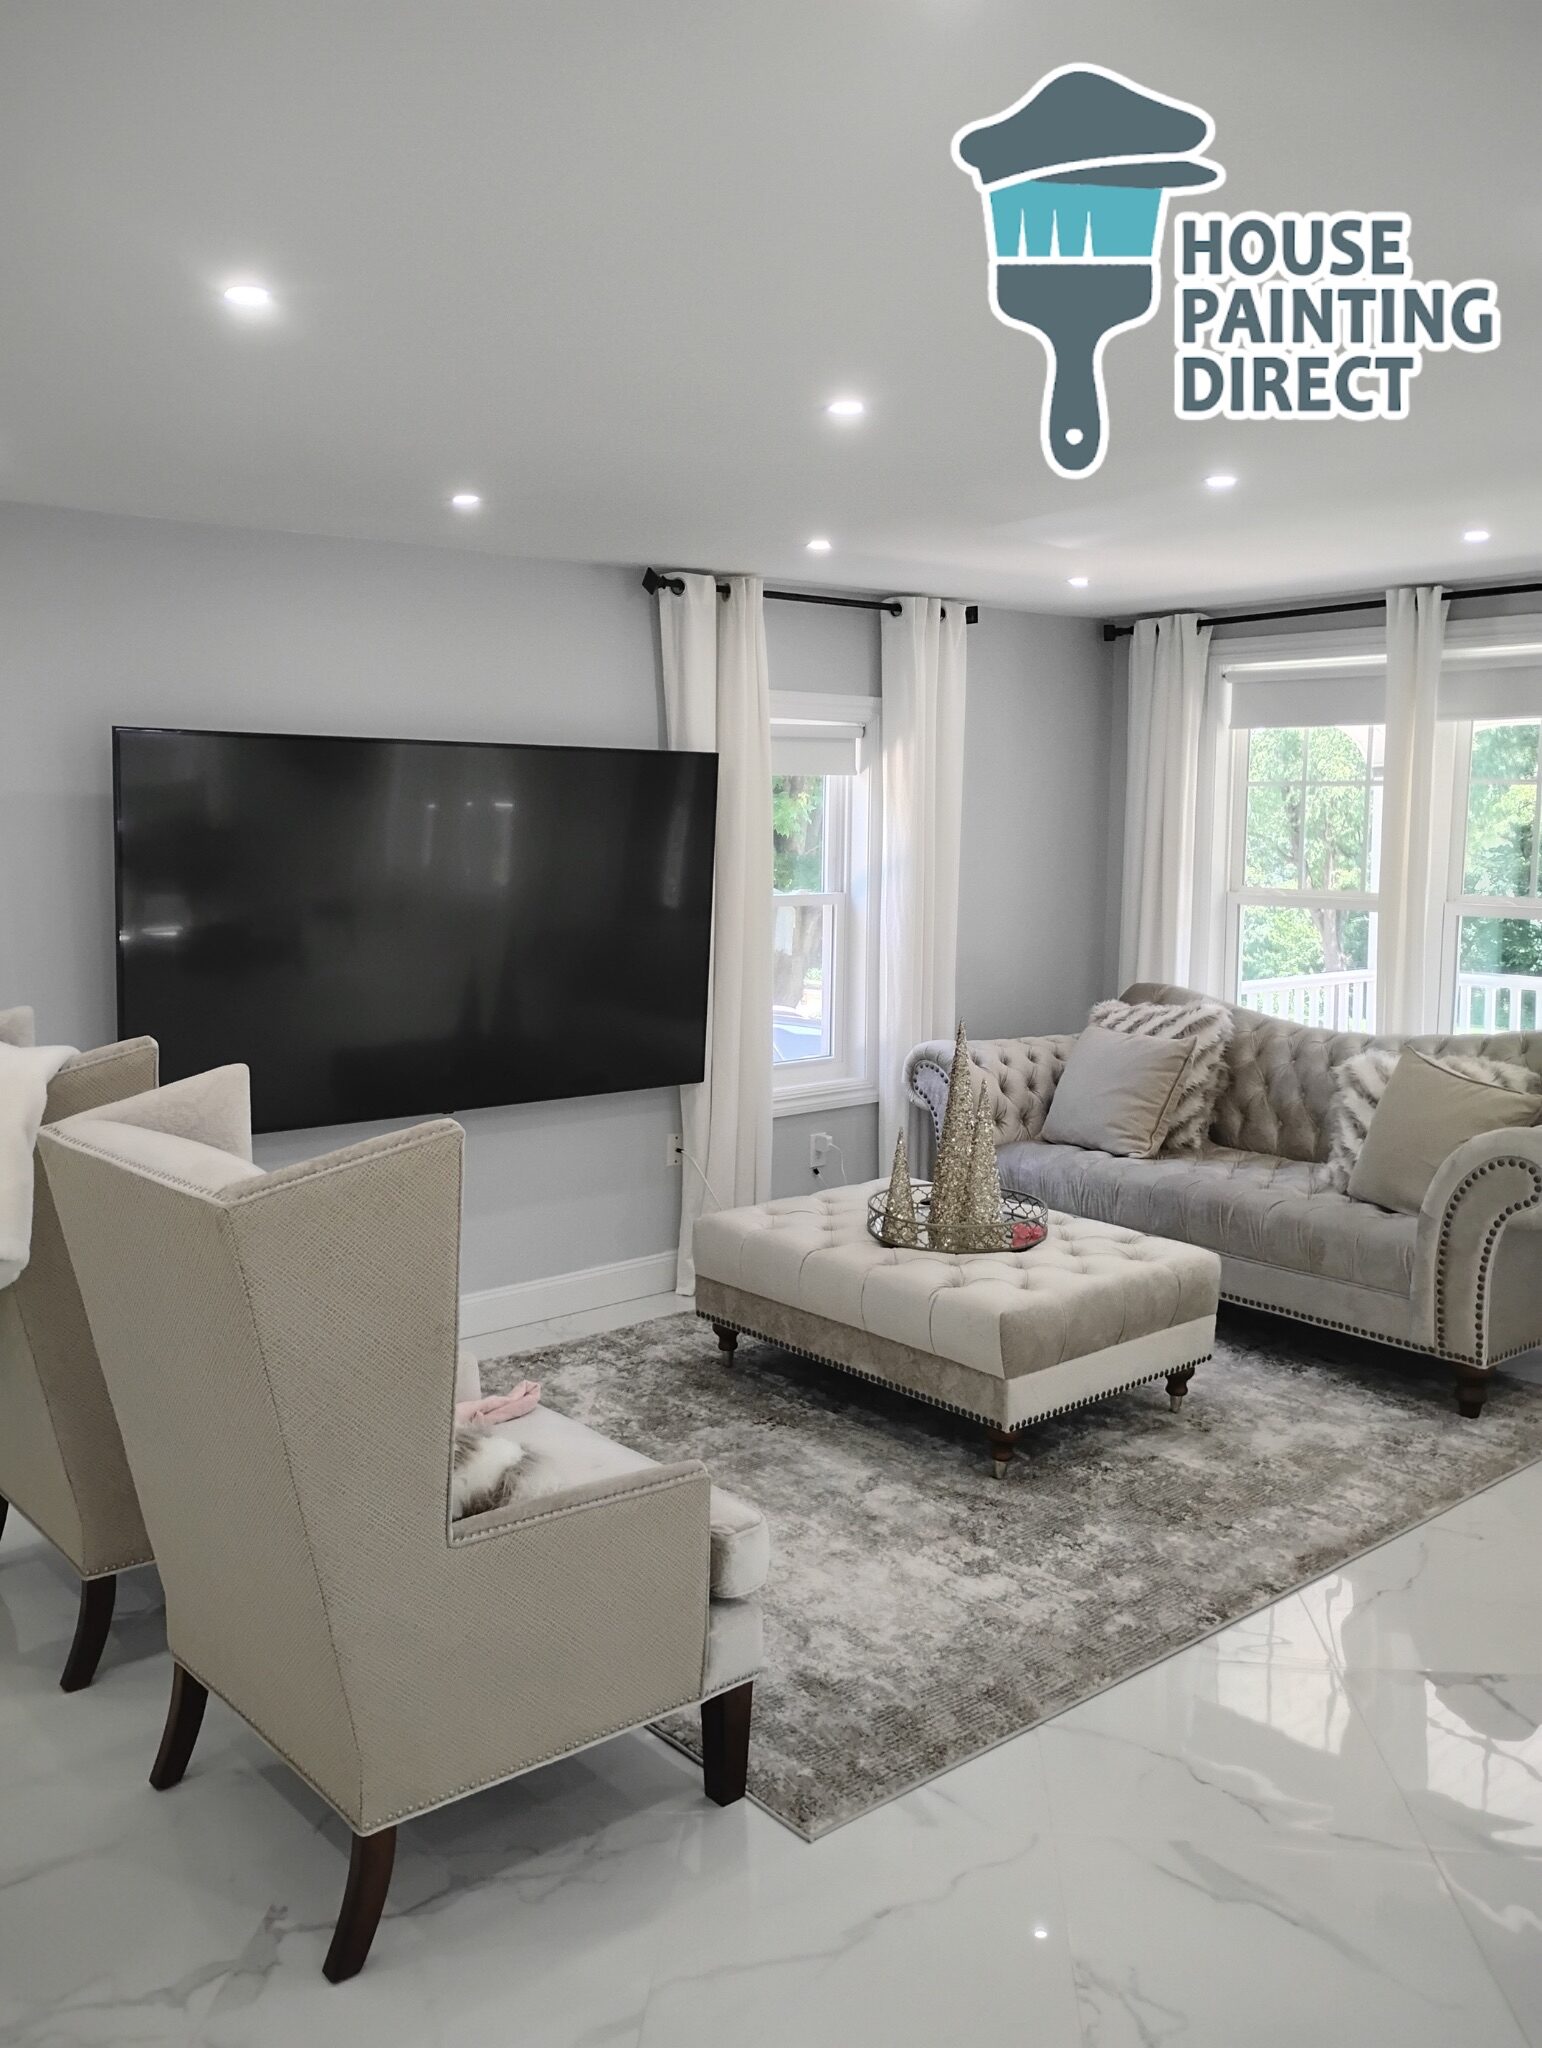
Detailed Finishing Work

This is where craftsmanship becomes noticeable.

The broad surfaces may already be complete, but finishing details often separate an average project from an exceptional one.

Areas receiving special attention often include:

  • Trim lines
  • Corners
  • Doors
  • Window casings
  • Architectural details
  • Touch-up work

Many of these elements are subtle.

Yet they are often the first things homeowners notice once the project is complete.

 Final Walkthrough and Review

The final stage isn’t simply packing up equipment.

It’s taking the time to carefully review the completed work.

This includes examining:

  • Coverage consistency
  • Finish quality
  • Touch-up areas
  • Surface cleanliness
  • Overall appearance

A fresh coat of paint should feel intentional—not rushed.

The best painting projects leave homeowners noticing the beauty of the space itself rather than focusing on the paint application.

What Most Homeowners Discover

Many people assume painting is primarily about color selection.

By the end of a project, they often realize the process is really about surface preparation, environmental conditions, craftsmanship, and attention to detail.

The paint may be the most visible component, but it’s only one part of the equation.

Whether it’s a family home in Shavertown, a mountain property near White Haven, or a lakefront retreat overlooking Harveys Lake, the goal remains the same: creating a finish that enhances the home while standing up to the realities of life in Northeastern Pennsylvania.

The steps may vary slightly from project to project, but quality painting almost always follows the same principle—careful work long before the final coat goes on.

9 + 4 =