
Be Beautiful

A Professional Painter’s Perspective: The Worst Paint Job I’ve Ever Seen and Preparing Your Home the Right Way

Interior & Exterior Painting Tips, Tricks and Local NEPA Stories

A Fresh Start for Your Home

After a long Northeastern Pennsylvania winter, spring brings more than warmer afternoons and longer days. It also creates a natural opportunity to take a fresh look at your home’s exterior and address the wear that winter weather may have left behind.

For homeowners in Wilkes-Barre, Scranton, Dallas, Shavertown, Mountain Top, and surrounding NEPA communities, spring can offer favorable conditions for exterior painting. Moderate temperatures, improving daylight, and the ability to address winter damage before summer all make the season worth considering.

But good spring painting is not simply about waiting for the calendar to reach March or April. Temperature, moisture, surface condition, and the specific paint being used all matter.

Spring Creates a Better Painting Window

Exterior paint performs best when applied under conditions that fall within the manufacturer’s recommended temperature and moisture ranges.

Pennsylvania spring weather can be unpredictable, but it generally provides more workable conditions than the extremes of winter or midsummer.

Moderate temperatures can help paint:

  • Apply smoothly
  • Flow and level properly
  • Dry at an appropriate rate
  • Develop proper adhesion
  • Cure without being exposed to extreme cold

That last point is particularly important. Paint needs more than a warm afternoon. The surface and surrounding conditions need to remain suitable during the early stages of drying and curing.

A spring painting project should therefore be scheduled around an appropriate weather window rather than simply a specific date.

Winter Can Reveal Problems That Need Attention

Spring is also valuable because winter has a way of revealing exterior weaknesses.

Snow, ice, freezing temperatures, wind, and repeated freeze-thaw cycles can put stress on painted surfaces and exterior materials.

When the weather improves, take a walk around the property and look for:

  • Peeling or flaking paint
  • Cracks
  • Blistering
  • Exposed wood
  • Damaged trim
  • Failed caulking
  • Staining around windows
  • Areas where moisture appears to be getting behind the finish
  • Mold, mildew, or organic growth

Not every damaged area means the entire house needs to be repainted. Sometimes a localized repair is appropriate.

The important part is identifying the condition before applying a new coating over it.

Interior Painting Is Often a Better Winter Project

Winter can actually be an excellent time to tackle interior painting.

Because interior spaces can be maintained at relatively stable temperatures, homeowners have much greater control over the environment than they do outdoors.

Common winter painting projects include:

  • Bedrooms
  • Living rooms
  • Dining rooms
  • Hallways
  • Home offices
  • Finished basements
  • Trim and doors
  • Kitchens and other living spaces

The key is maintaining suitable indoor temperature and ventilation while the paint dries and cures.

Opening windows for ventilation can be useful, but during a Pennsylvania winter, excessive cold air can work against the controlled conditions needed for a quality finish. Follow the coating manufacturer’s ventilation and application recommendations.

Color Selection Looks Different in Spring Light

Spring is also a useful time to evaluate exterior colors because the landscape around the home begins changing.

Trees, grass, flowering plants, stonework, roofing, and other surrounding elements can all influence how an exterior color appears.

A color that looked perfect against a winter landscape may feel different once everything turns green.

For homeowners in NEPA, this is especially noticeable on properties surrounded by mature trees or natural woodland. The home’s exterior becomes part of a larger landscape, so color selection should account for the property’s architecture as well as its surroundings.

Consider the Whole Exterior

A successful exterior color scheme does not necessarily require a dramatic change.

Sometimes the most refined result comes from adjusting one element:

  • A fresh main siding color
  • A complementary trim color
  • A deeper front-door color
  • Updated shutters
  • A cleaner porch or deck finish

The goal is to create visual balance rather than simply choosing the newest trending color.

How to Know If Your Home Is Ready for Painting

A home’s exterior may be a good candidate for painting when:

  • Existing paint is visibly fading or deteriorating
  • Peeling or cracking has become widespread
  • The underlying material is becoming exposed
  • Trim needs a protective finish
  • The existing color is significantly weathered
  • Previous repairs have created noticeable differences in the finish
  • You want to update the home’s appearance before summer

But the surface still needs to be evaluated before painting begins.

If there are significant moisture problems, damaged wood, or other substrate concerns, those issues should be addressed first.

Spring Painting Is About Timing, Not Just Temperature

There is a reason spring remains such a popular season for exterior painting in Pennsylvania.

It offers a useful balance: temperatures are generally more manageable than winter, daylight is increasing, and homeowners have an opportunity to address winter wear before another full season of weather exposure.

Still, the best spring painting project is not simply the one that starts earliest.

The right timing depends on the surface condition, weather forecast, temperature, moisture, product requirements, and preparation needed.

For homeowners throughout Wilkes-Barre, Scranton, Luzerne and Lackawanna counties, and communities such as Dallas, Clarks Summit, Shavertown, Harveys Lake, Mountain Top, and White Haven, spring can be an ideal time to give an exterior the attention it needs.

A beautiful finish begins long before the first brush touches the siding. When the surface is properly prepared and the conditions are right, spring can set the stage for an exterior that looks polished, cared for, and ready for the seasons ahead.

12 + 4 =

I’ve spent years painting homes, and if there’s one thing I’ve learned, it’s this: preparation is the hardest, most overlooked part of any paint job—and it’s the reason professional results look the way they do. Most problems I’m called to fix didn’t happen during painting; they happened long before a brush ever touched the wall.

Homeowners often ask me why professional painting costs more than a weekend DIY project. The answer is simple: proper preparation takes experience, time, physical work, and attention to detail that most people don’t realize until it’s too late.
The Job 

After years in the painting industry, I’ve walked into more homes than I can count—and some of them tell a story the moment you step inside. One job in particular still stands out as the worst unprofessional paint job I’ve ever been called to fix.

The homeowner had decided to paint the entire interior themselves to “save money.” No surfaces were properly cleaned. Dust, grease, and even pet hair were sealed right into the paint. There was no sanding, no patching, and no primer—just paint rolled directly over damaged drywall, glossy trim, and water-stained ceilings.

You could see roller marks from every angle. Cut lines were jagged and uneven, bleeding onto ceilings, floors, and window trim. Paint was peeling in some areas within weeks because it never bonded correctly. In high-traffic rooms, the finish was already scuffed and failing, exposing the old color underneath.

To fix it the right way, we had to undo almost everything—scrape failing paint, sand entire rooms, repair hidden damage, prime correctly, and then repaint from scratch. In the end, the homeowner spent far more than they would have if the job had been done professionally from the start.

Jobs like this are why I always tell clients: preparation isn’t optional. It’s the foundation of the entire project.
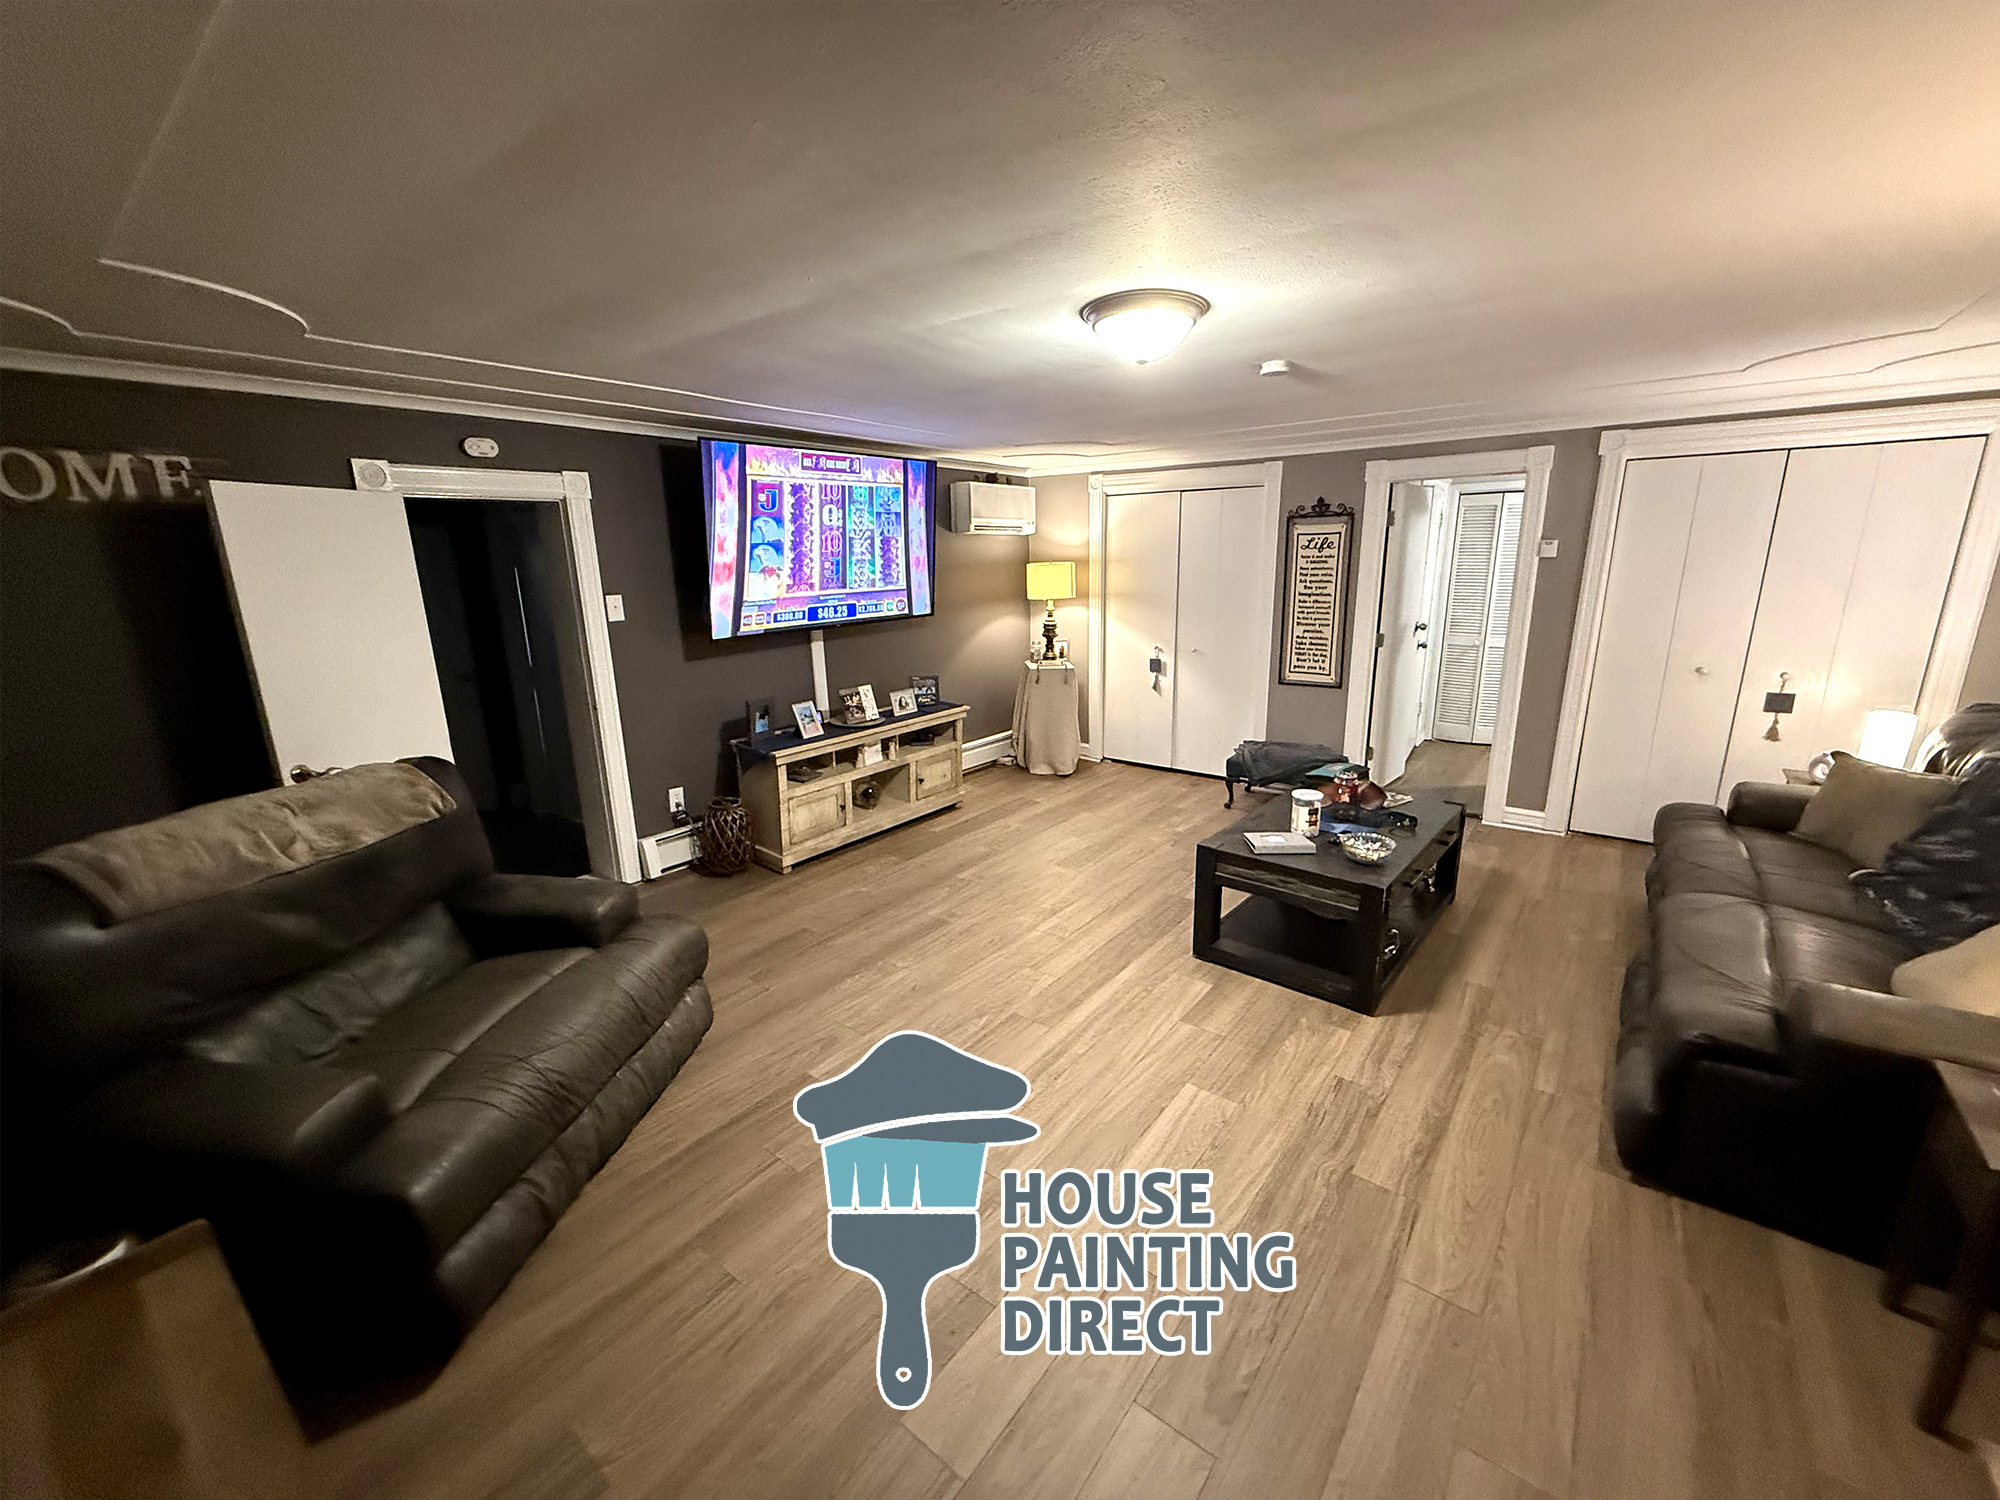
basement theater interior painting wilkes-barre grey ceiling and walls drywall

Clearing and Protecting the Work Area (What Pros Do Differently)

When I prepare a home for painting, the first thing I focus on is protection. This isn’t just about moving furniture—it’s about creating a controlled workspace.

Furniture, décor, and personal items need to be fully removed or carefully centralized and wrapped. Floors, countertops, fixtures, and adjacent surfaces must be protected with the right drop cloths and coverings. Skipping or rushing this step leads to damage, mess, and slower progress once painting starts.

Most homeowners don’t realize how much time and planning this step alone takes, but it’s critical for keeping your home clean and the project efficient.
Worker painting wall with spray gun in white color.

Cleaning Surfaces the Way a Professional Does

Surface cleaning is one of the most underestimated parts of prep—and one of the biggest reasons DIY paint jobs fail.

Before I paint, I make sure walls, trim, and surfaces are free of dust, grease, residue, and contaminants. Kitchens, bathrooms, and high-touch areas require extra attention. If paint goes over dirty surfaces, it won’t bond properly—no matter how good the paint is.

On exterior projects, pressure washing isn’t optional. It’s the only way to remove built-up dirt, mildew, and loose debris so the new paint can actually last.

Repairing What Paint Will Expose

Paint doesn’t hide problems—it highlights them. Part of my job as a professional painter is knowing what to fix before it becomes obvious.

I look for nail holes, cracks, peeling paint, damaged drywall, and failing wood. These issues need proper repair, not quick patch jobs. Many homeowners don’t notice these flaws until after painting, when fixing them means starting over.
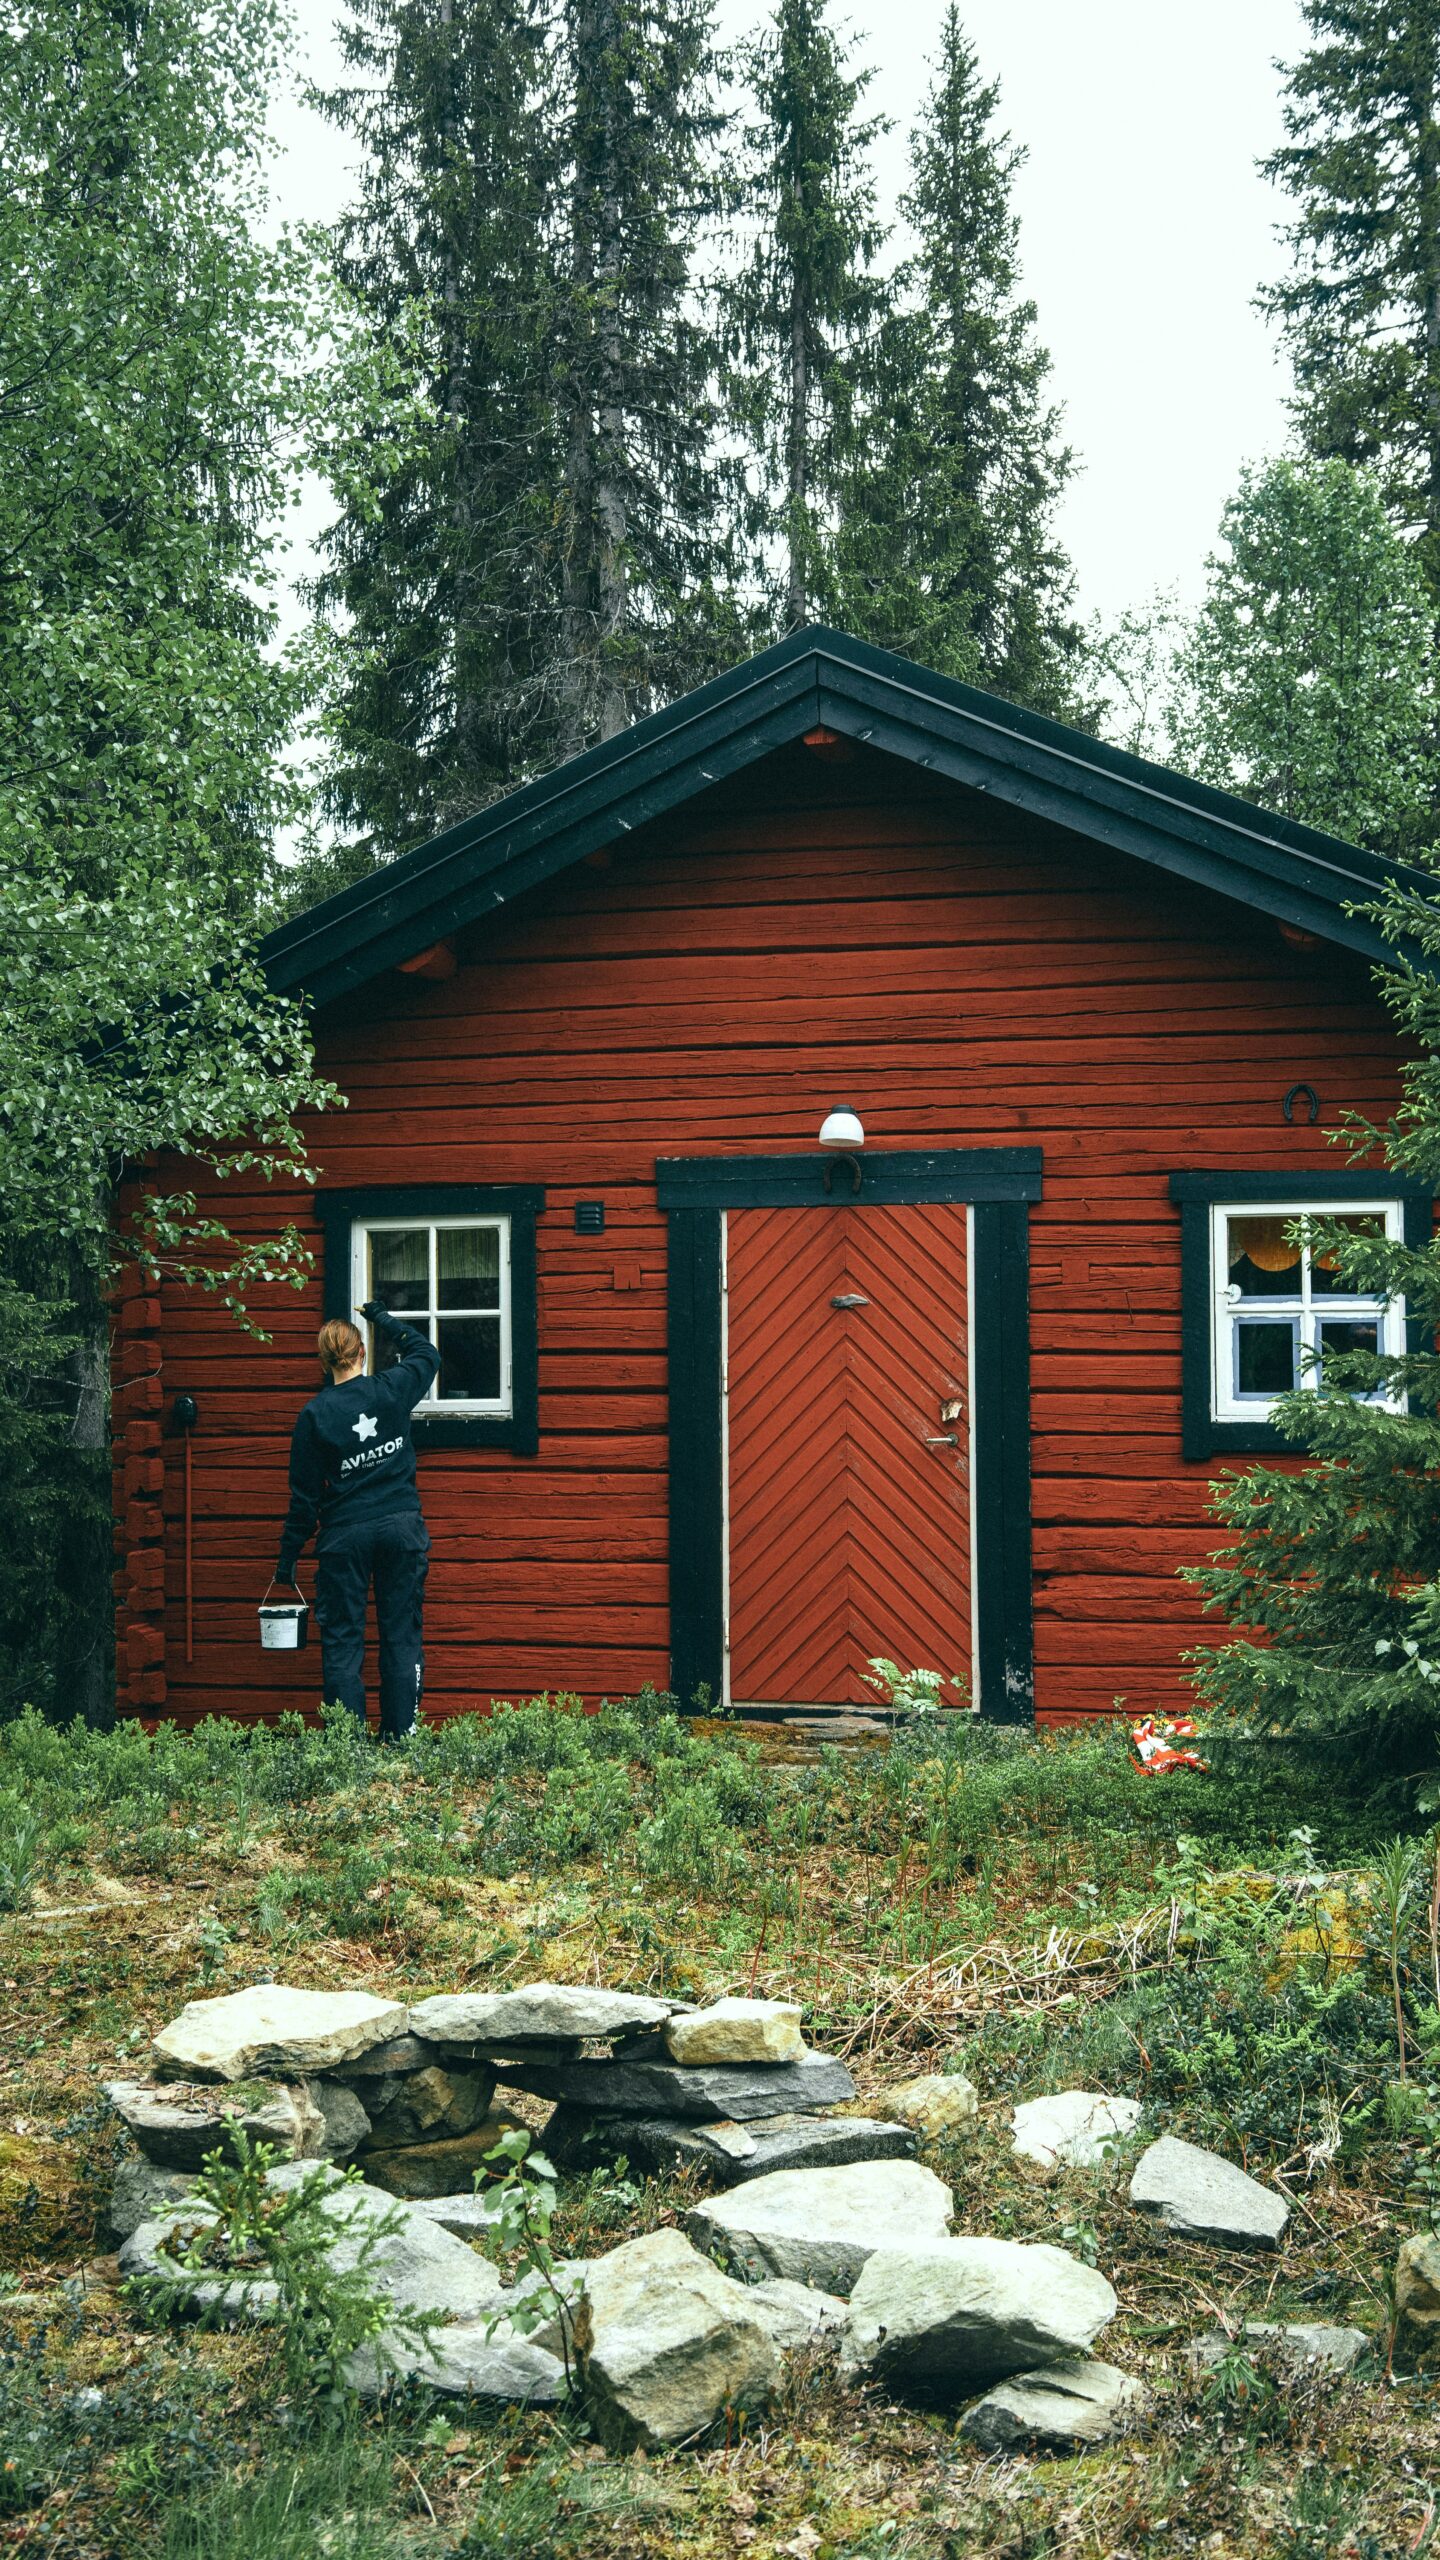
log siding log home red exterior house painting

Common repairs I handle during prep include:

  • Filling and feathering nail holes and cracks
  • Repairing and blending drywall damage
  • Scraping and sanding peeling paint
  • Replacing rotted or damaged exterior wood

8 + 11 =

Sanding and Priming: Where Paint Jobs Are Won or Lost

Sanding and priming are physically demanding, technical steps—and they make or break the final result.

I sand surfaces to create proper adhesion, especially on glossy finishes or previously painted trim. I prime repairs, stains, bare wood, and problem areas using the right primer for the situation—not a one-size-fits-all product.

Primer is essential when:

  • Covering dark or bold colors
  • Sealing water stains or damage
  • Painting new drywall or bare wood
  • Switching between oil-based and latex paints

Skipping or misusing primer is one of the biggest mistakes I see in unprofessional paint jobs.
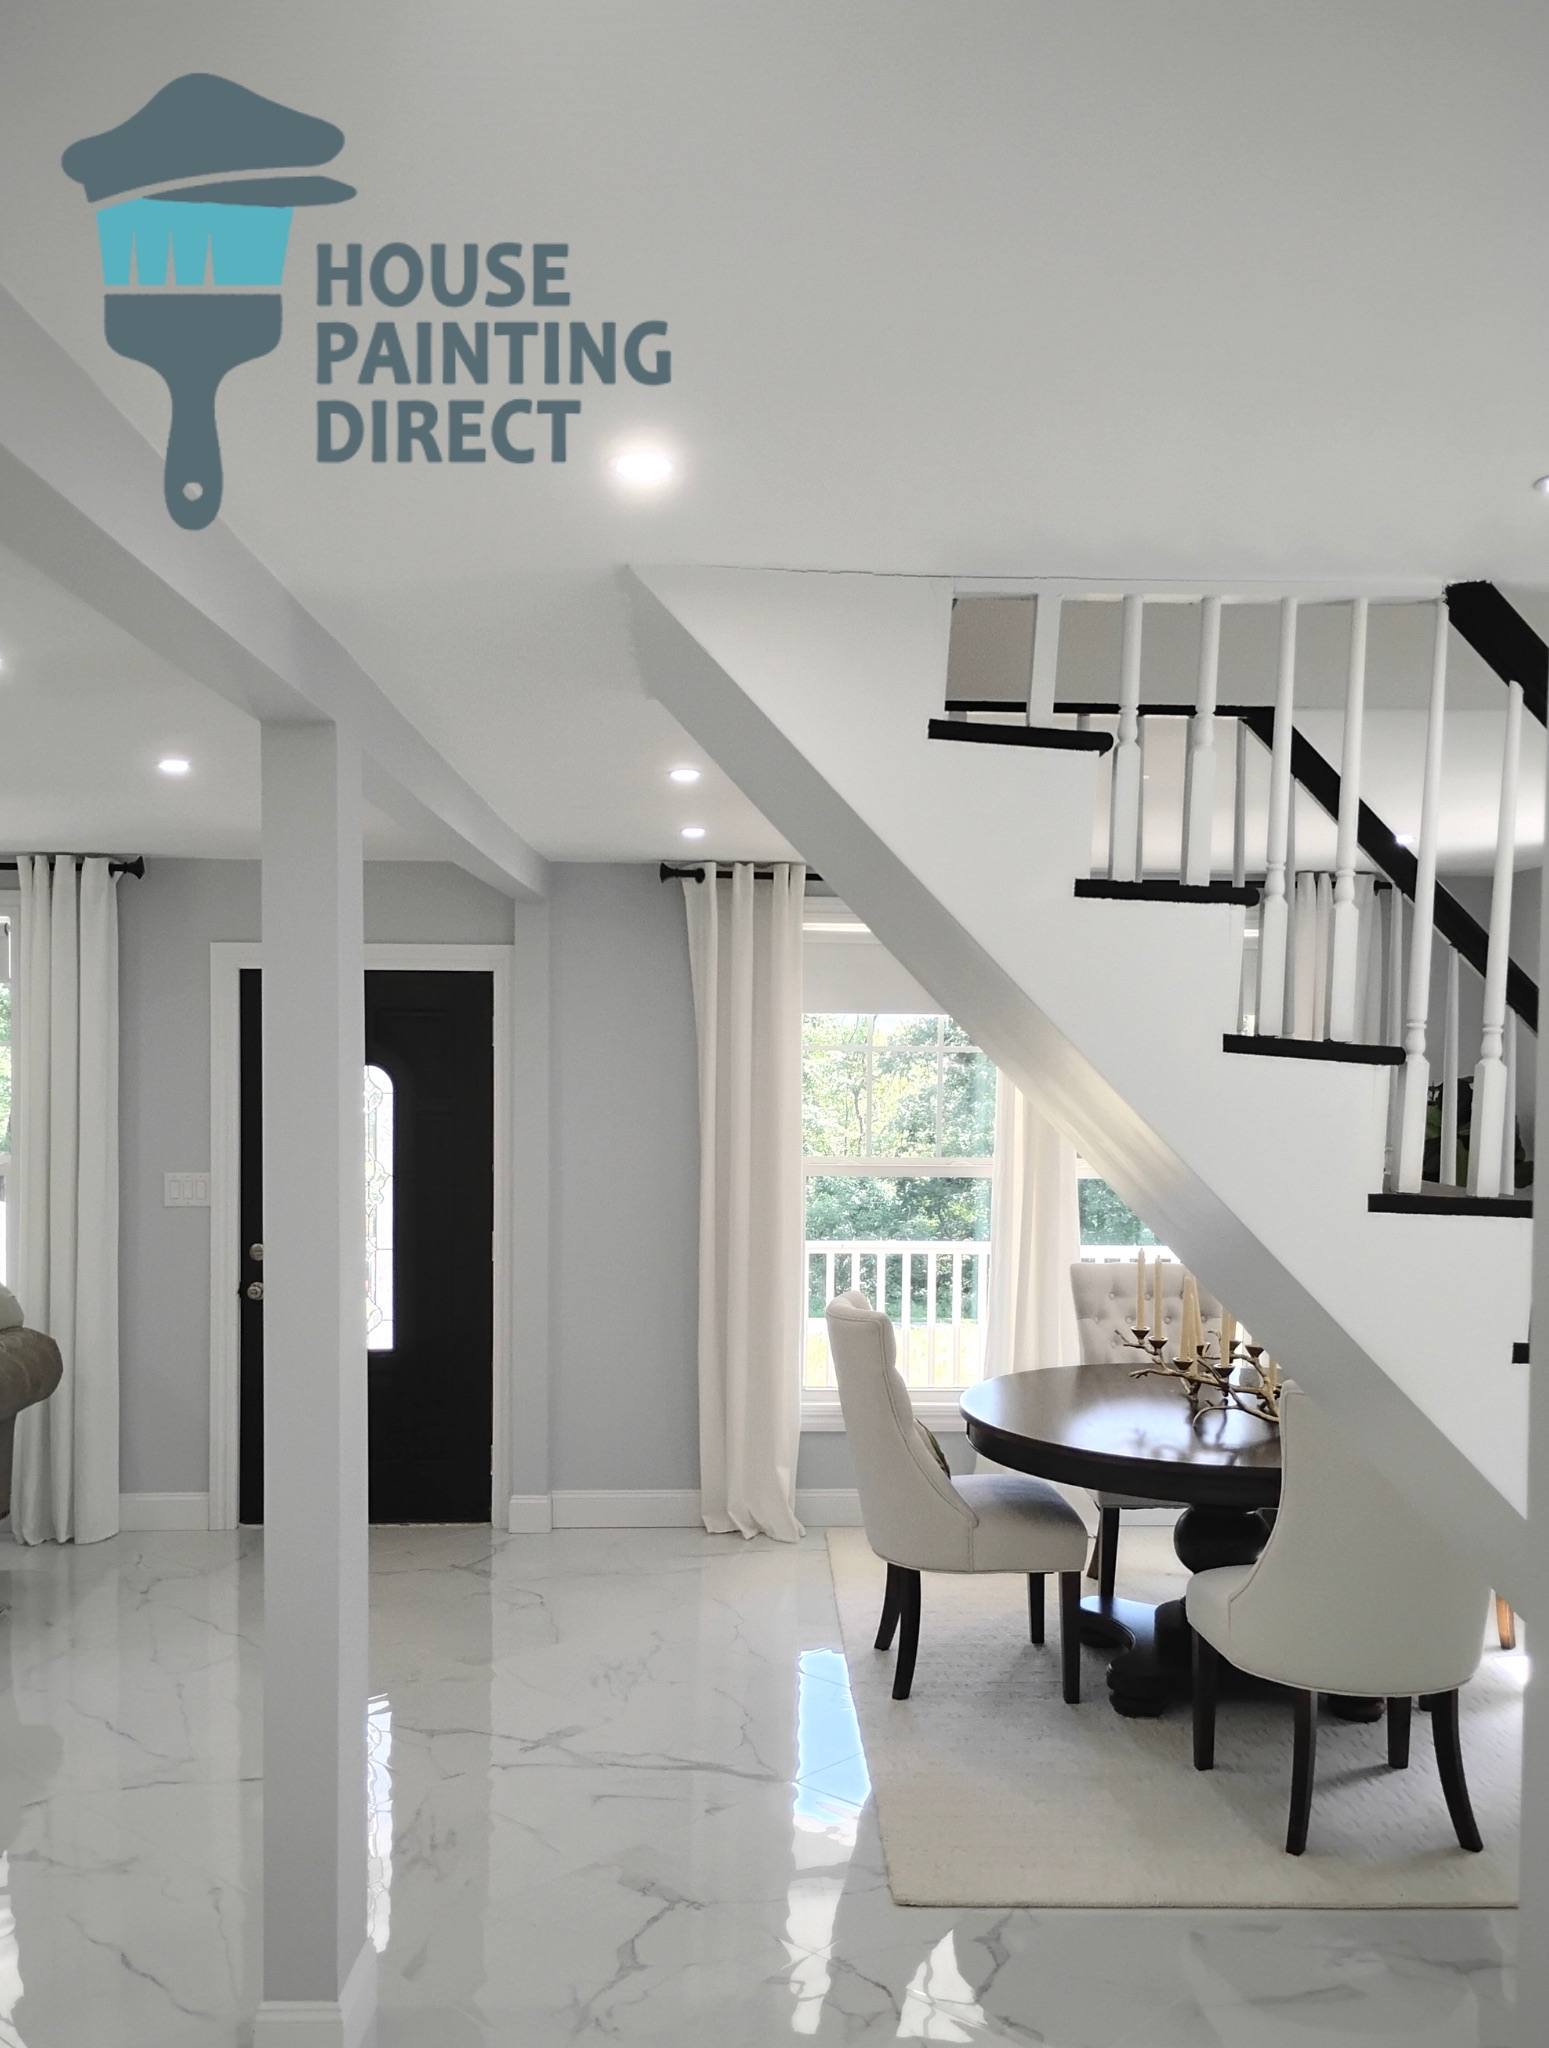
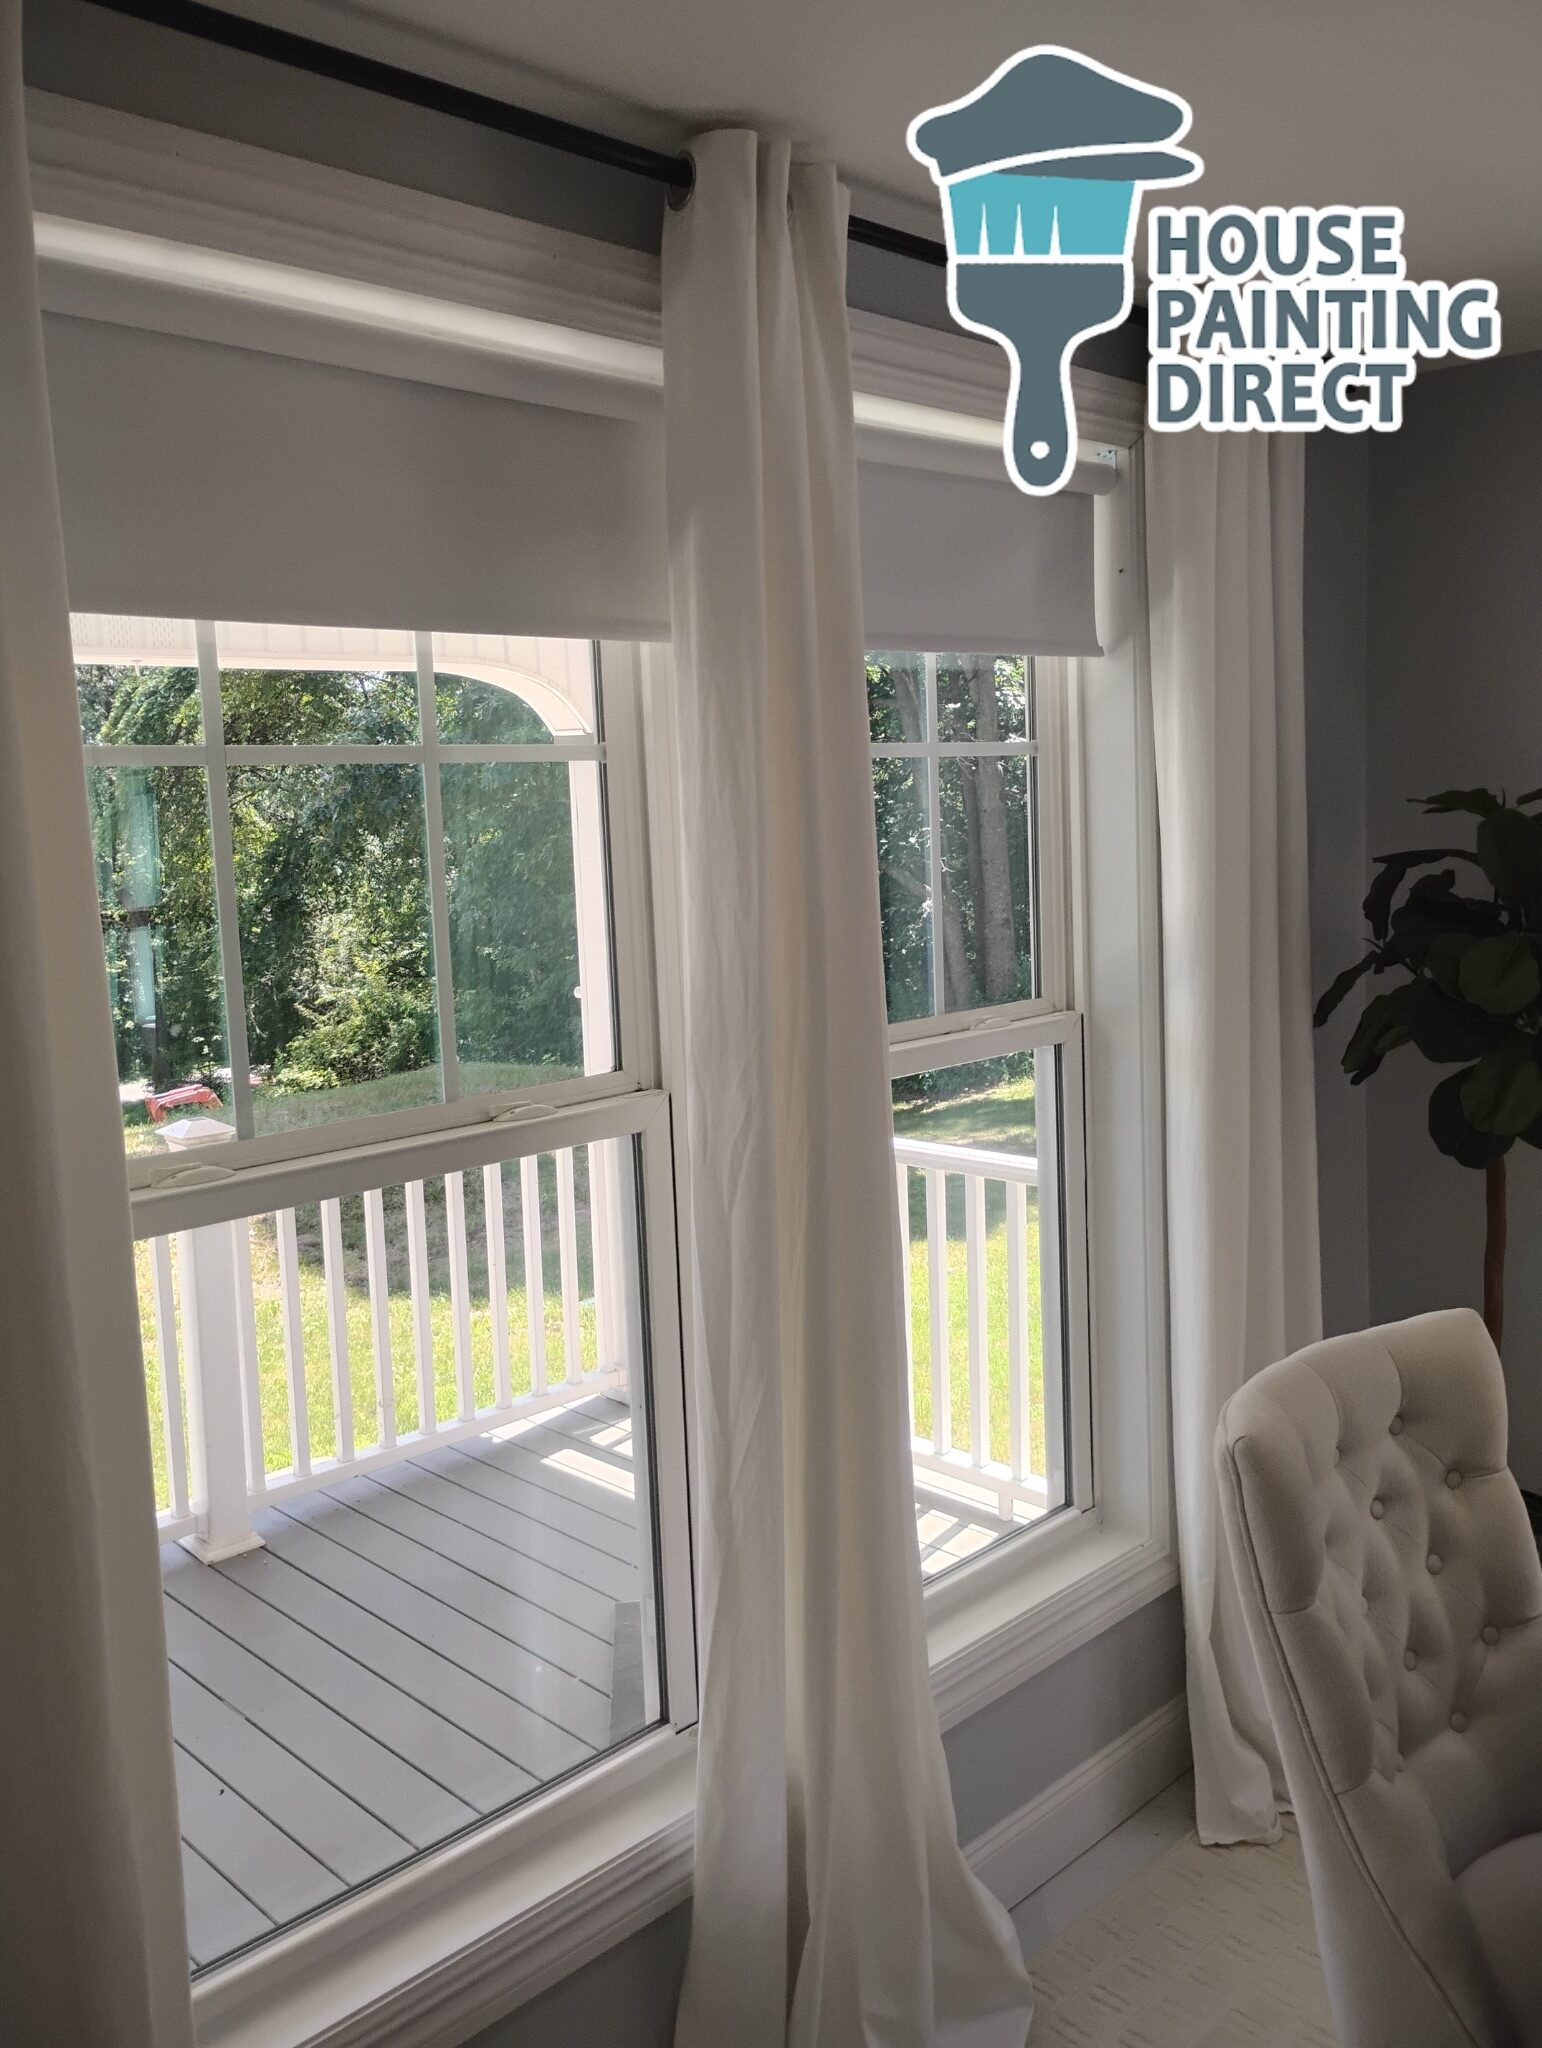
interior painting stairs railing ceiling trim windows white

Helping Homeowners Choose the Right Paint and Finish

Choosing paint isn’t just about color—it’s about performance.

I help homeowners select finishes that hold up in real life. High-traffic areas, moisture-prone rooms, and older walls all require different approaches. Without professional guidance, it’s easy to choose a finish that scuffs easily, shows imperfections, or fails prematurely.

My goal is always to balance appearance, durability, and long-term maintenance.

Managing Pets, Family, and Daily Life During Painting

A professional painting project should fit into your life—not disrupt it.

I plan workflows, access points, and timelines to minimize inconvenience. Painting involves noise, odors, and restricted areas, so coordinating around pets and family members is part of doing the job responsibly and safely.

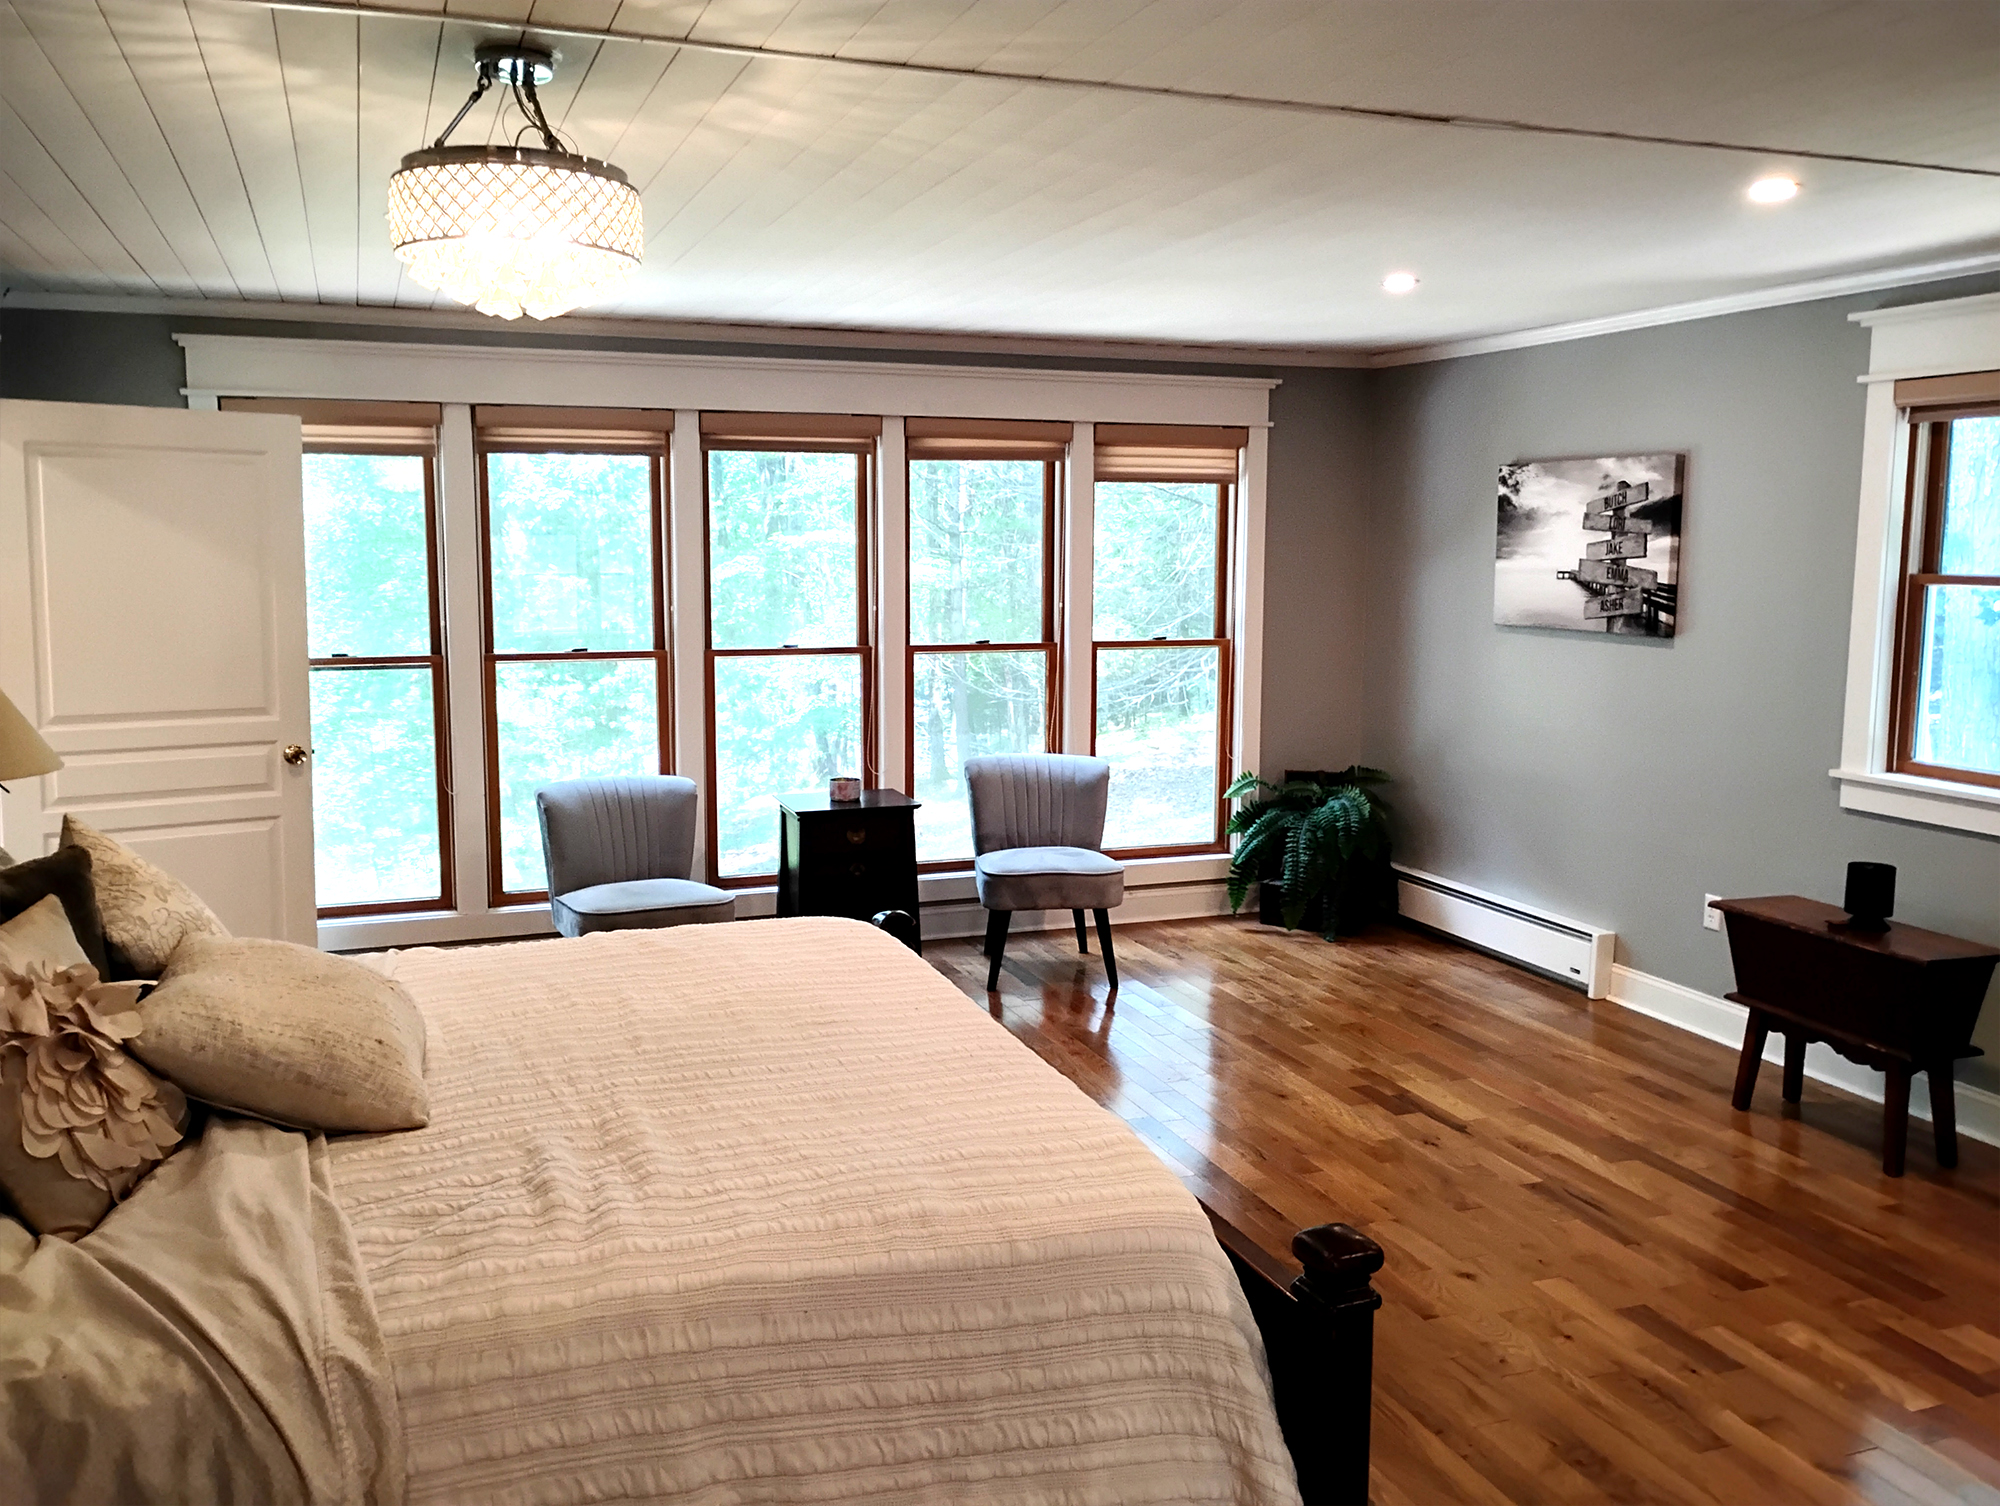
interior house painting bedroom painting with ceiling light and windows

Why Professional Preparation Always Pays Off

Every failed paint job I’ve fixed had one thing in common: poor preparation.

Professional painters don’t rush prep because we know the cost of cutting corners. With the right tools, experience, and process, we prevent problems before they happen—and that’s what creates smooth finishes, clean lines, and paint that lasts for years instead of months.

Schedule Your Painting Project with Confidence


If you want a paint job that looks better, lasts longer, and doesn’t need costly corrections down the road, professional preparation makes all the difference. Contact your local professional painter today to schedule a consultation and get your project started the right way—from the very first step.